
Verifier account, profile and user management
Account page
The account page represents the verifier's organization. It stores the company information that clients and the platform use to identify the verification body.
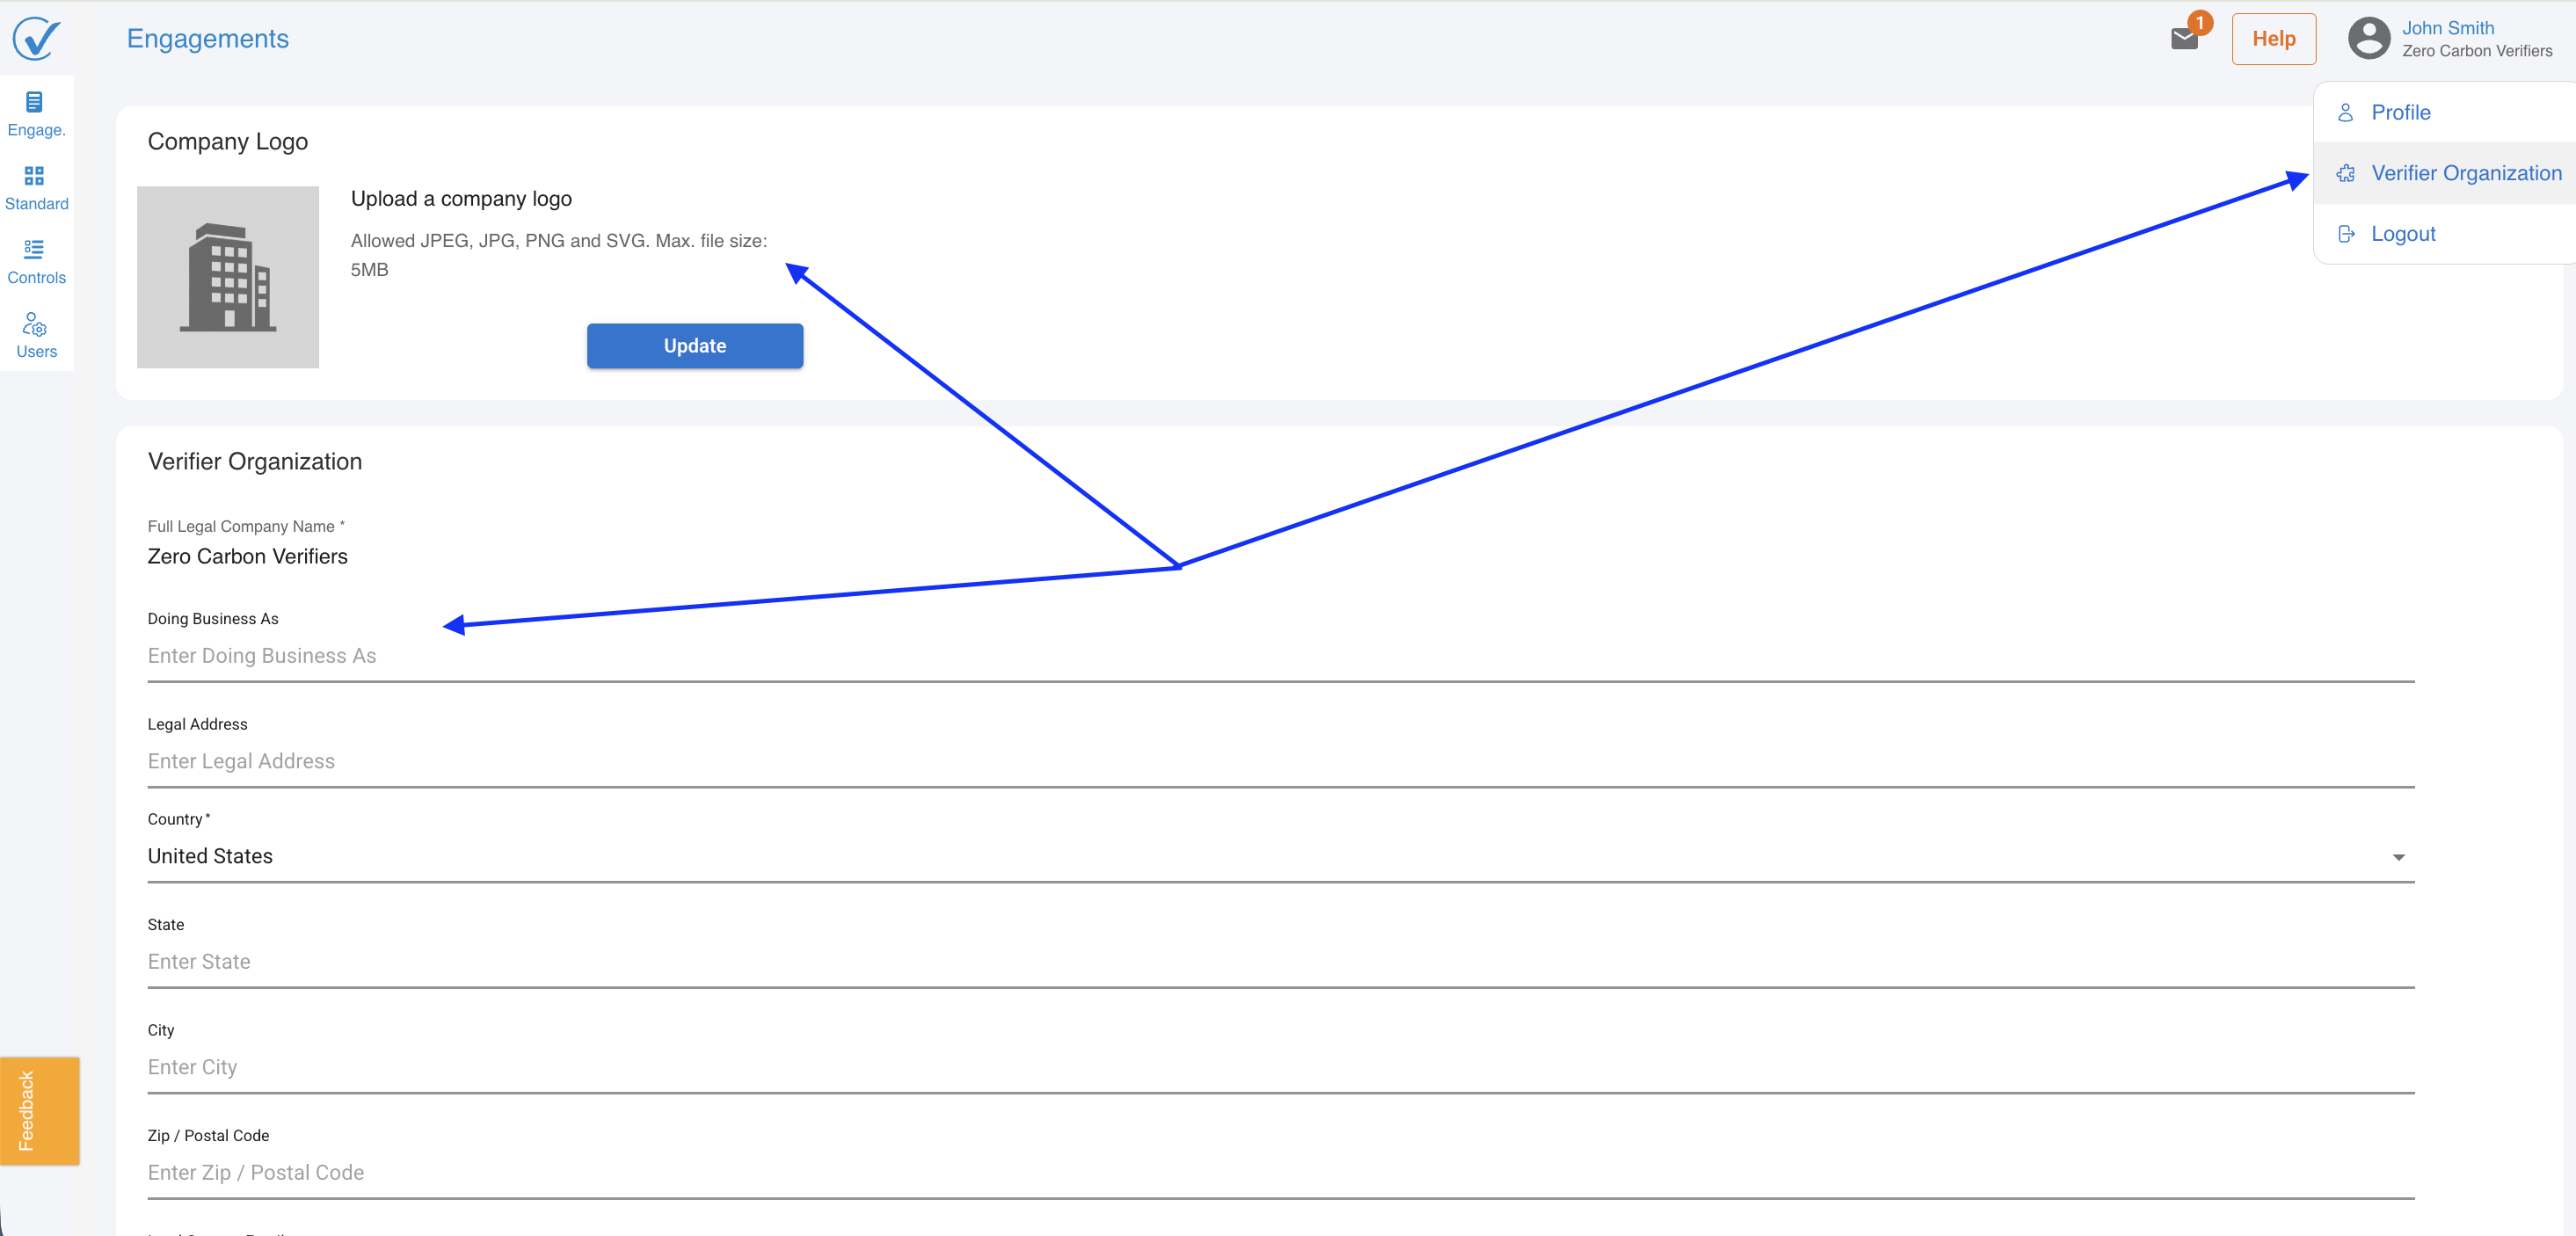
Fields on the account page:
- Company logo
- Full legal company name* (requierd during registration)
- Doing business as (trade name)
- Country* (required during registration)
- Legal address, state, city, and postal code
- Lead contact email
- Phone number
- Company website URL
Profile page
The profile page represents an individual verifier user within the organization.
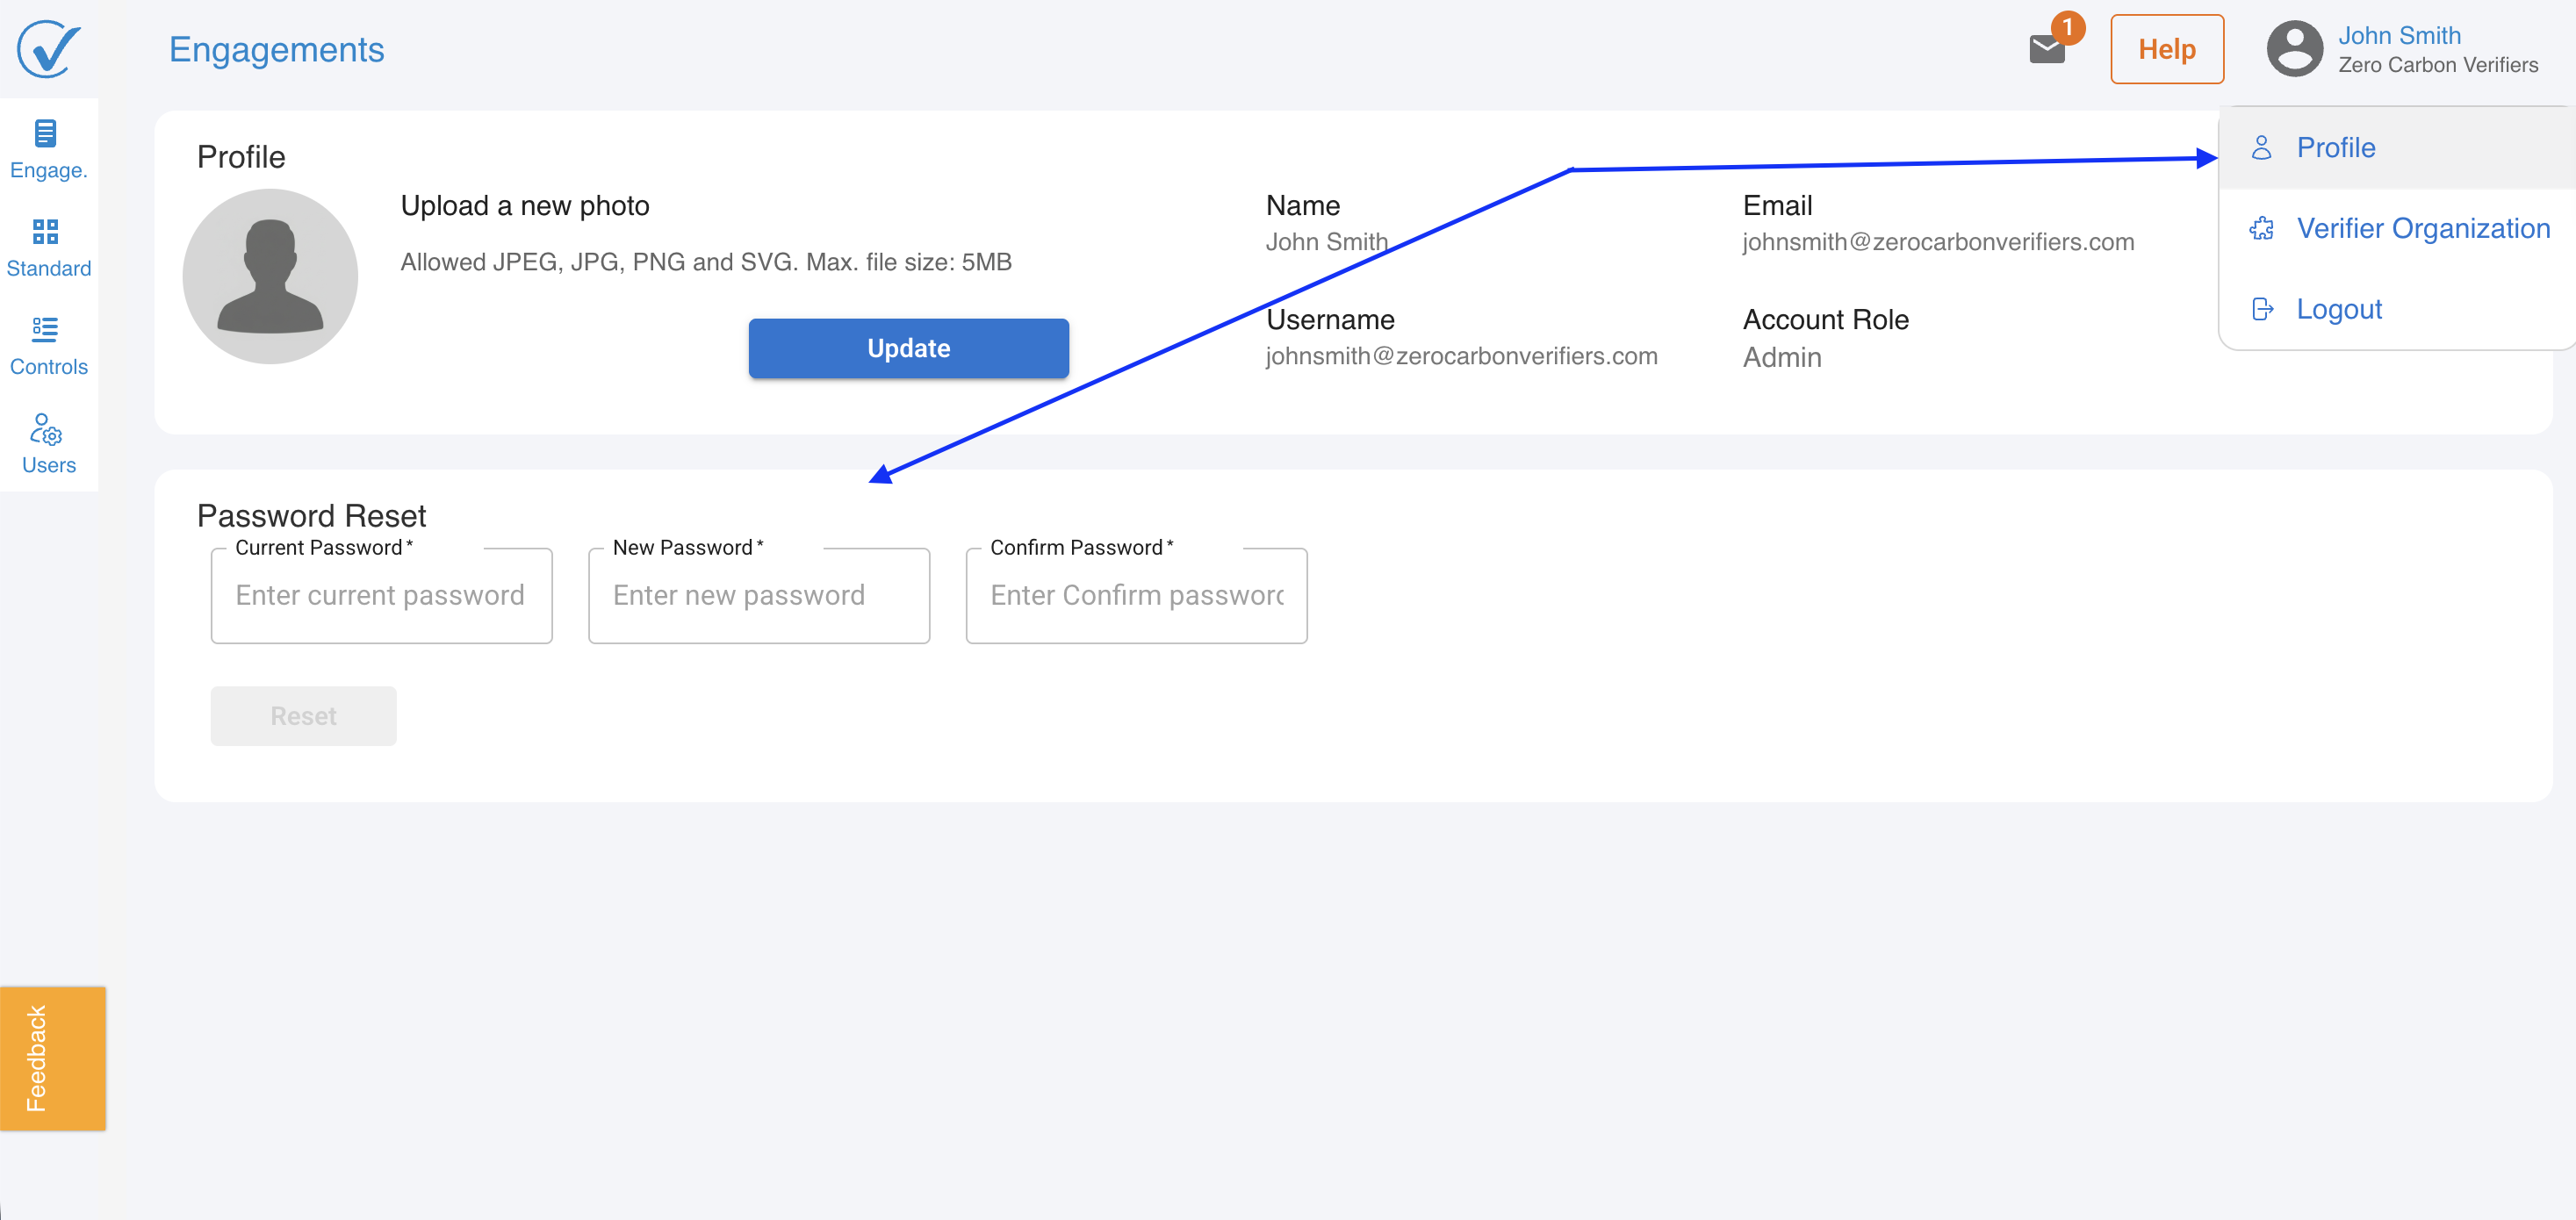
Fields on the profile page:
- Profile photo
- Name
- Username
Option for reset password.
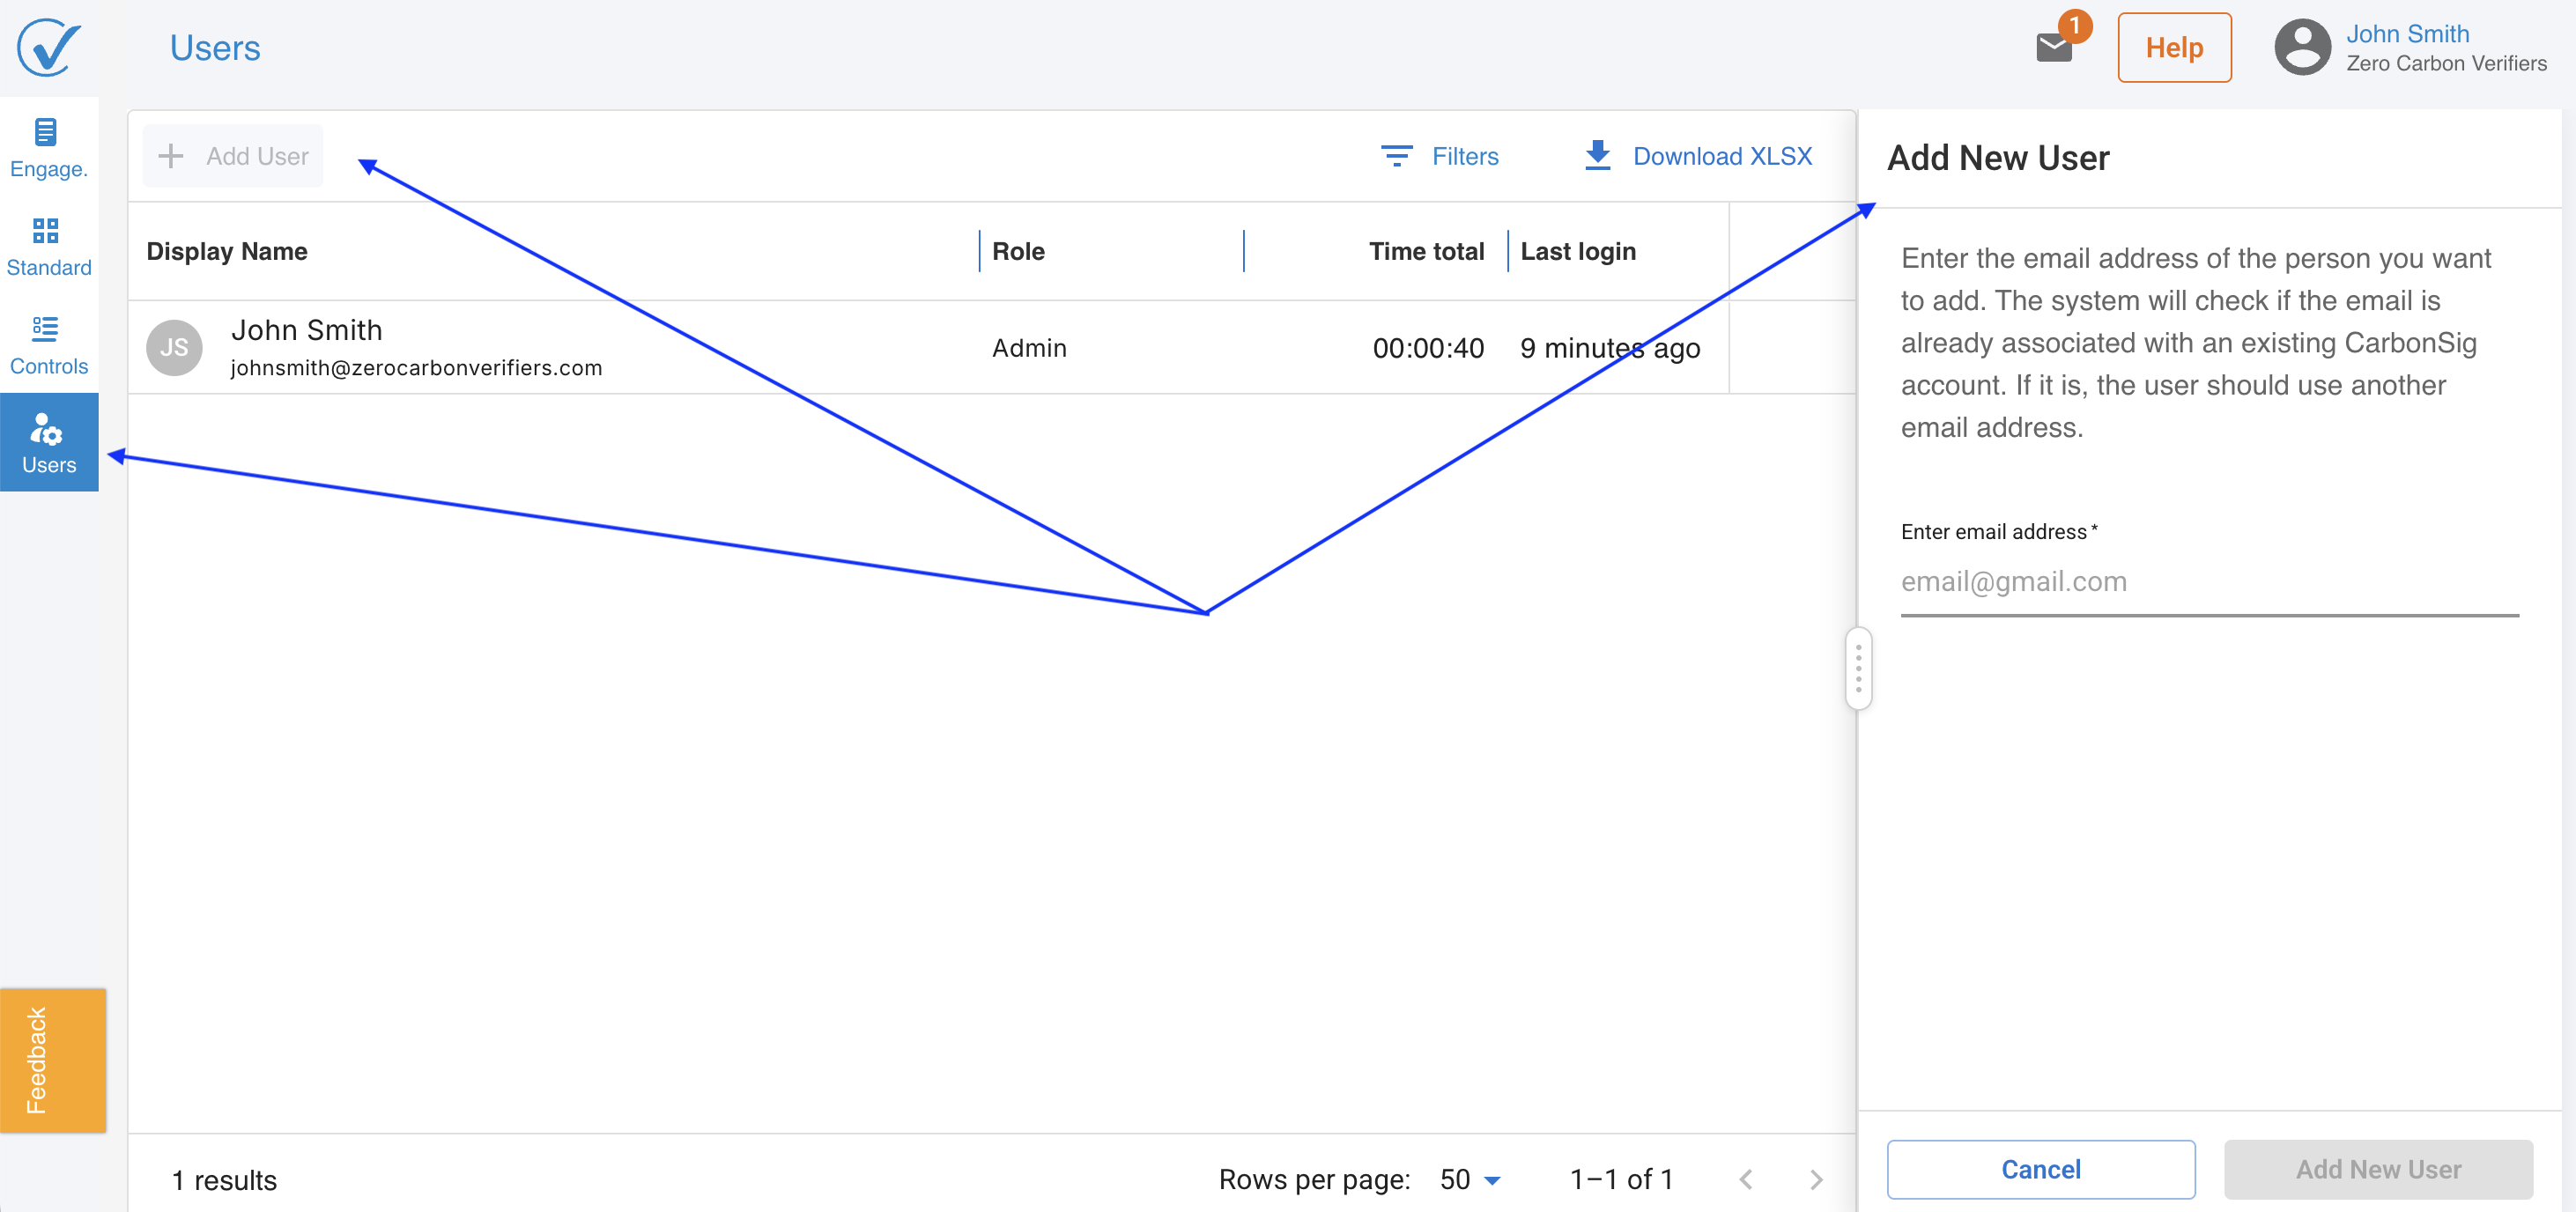
User management
The user management section allows the verifier Admin to add and manage team members within the verifier account. It is accessible from the profile page.
Verifier Admins can add and manage users within their organization's verifier account. User management is accessible from the profile page in account settings.
Adding a user
1. Open the User management section.
2. Click Add user.
3. Enter the new user's email address.
4. Confirm to send an invitation.
The invited user receives an email with a link to set up their account.
Editing a user
1. In User management, locate the user.
2. Click the actions menu next to their name.
3. Update the relevant fields and save.
Removing a user
1. In User management, locate the user.
2. Click the actions menu and select Remove user.
3. Confirm the removal.
Access is revoked immediately.
Role structure
In the current release, all verifier users have the Admin role. Additional roles may be introduced in future updates.
Next article: Accepting a verification request
Latest update: May 2026