
Supplier Onboarding Guide
Step 1: Receiving the Activation Email
- A company representative receives the activation email and forwards it to the person responsible for creating CAP.
- The recipient should click on the activation link to begin the onboarding process.
- The activation link remains valid until all steps are completed.
- If the user closes the window before finishing, clicking the link again will restart the process from the beginning.
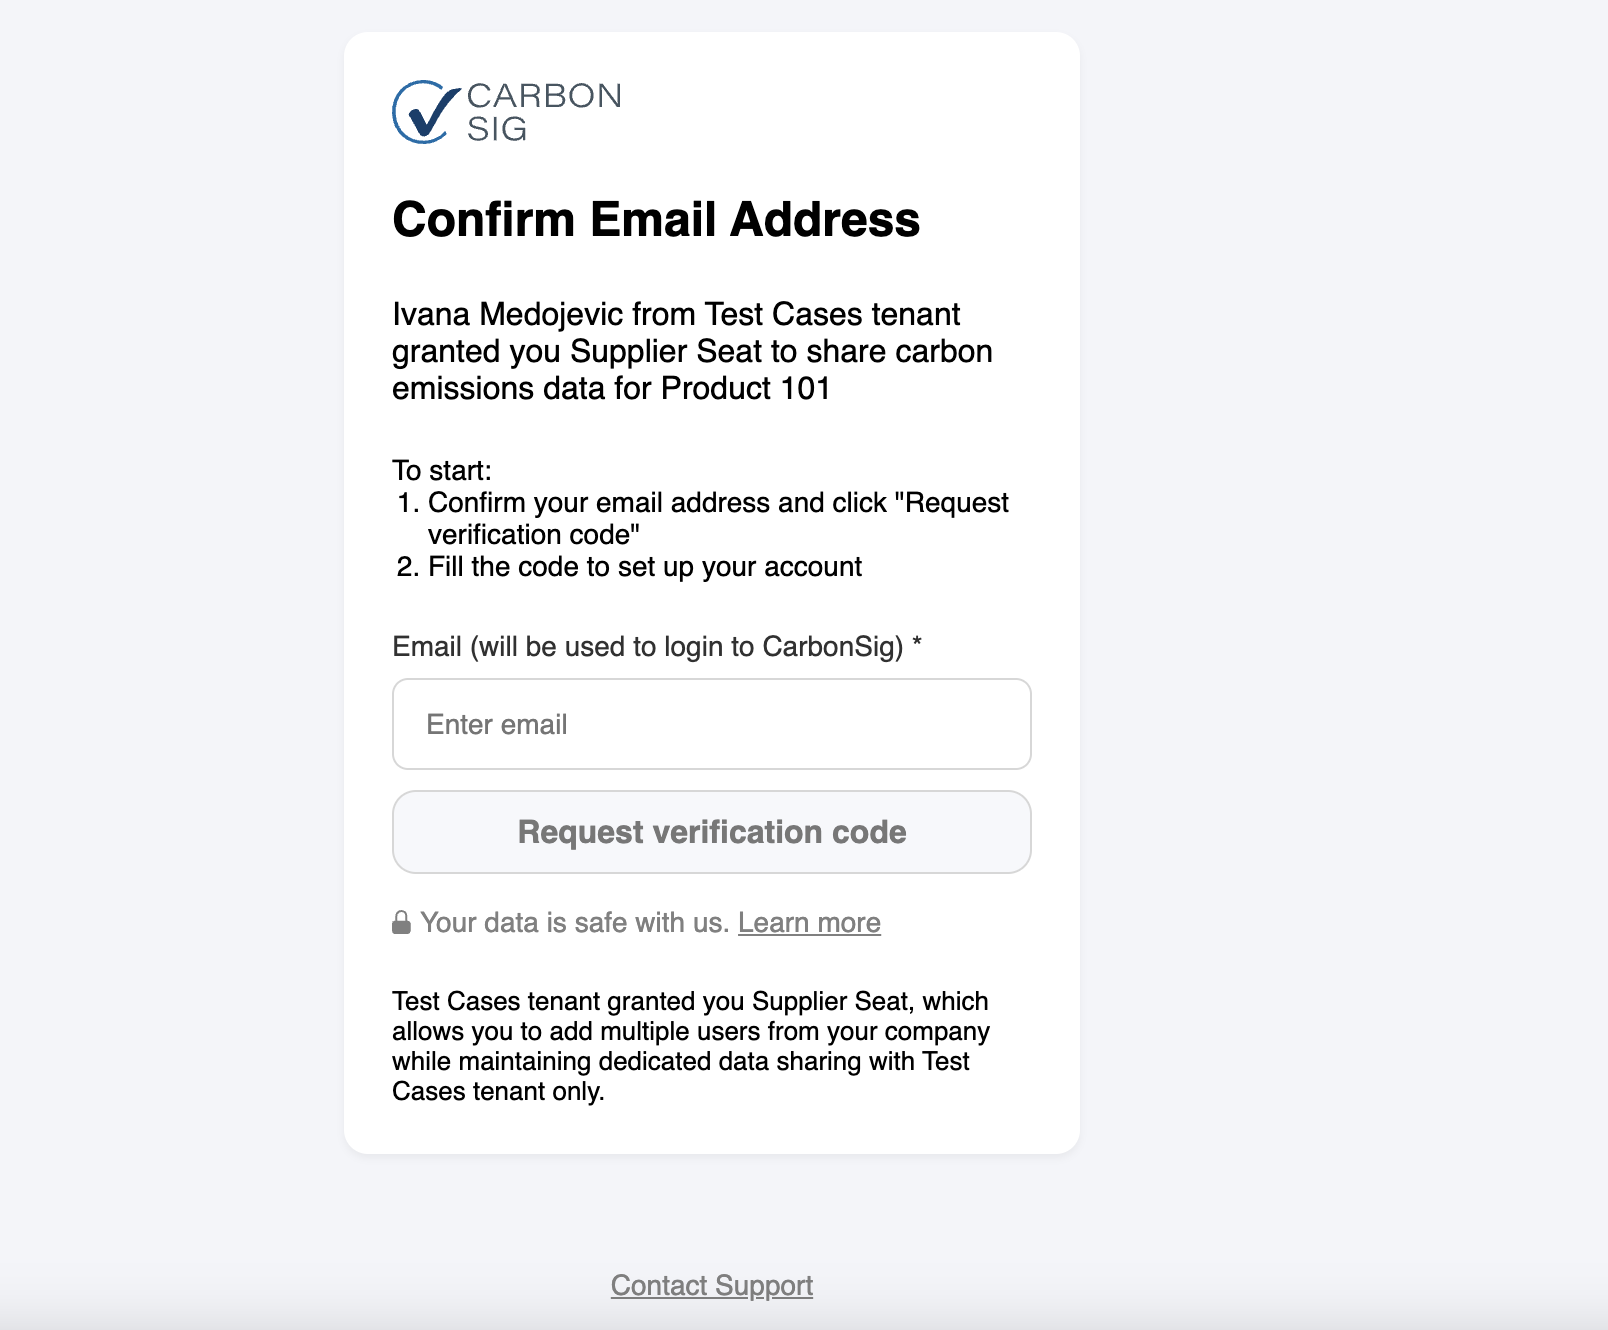
Step 2: Email Verification
- On the first screen, enter your email address, which will be used as your login credential.
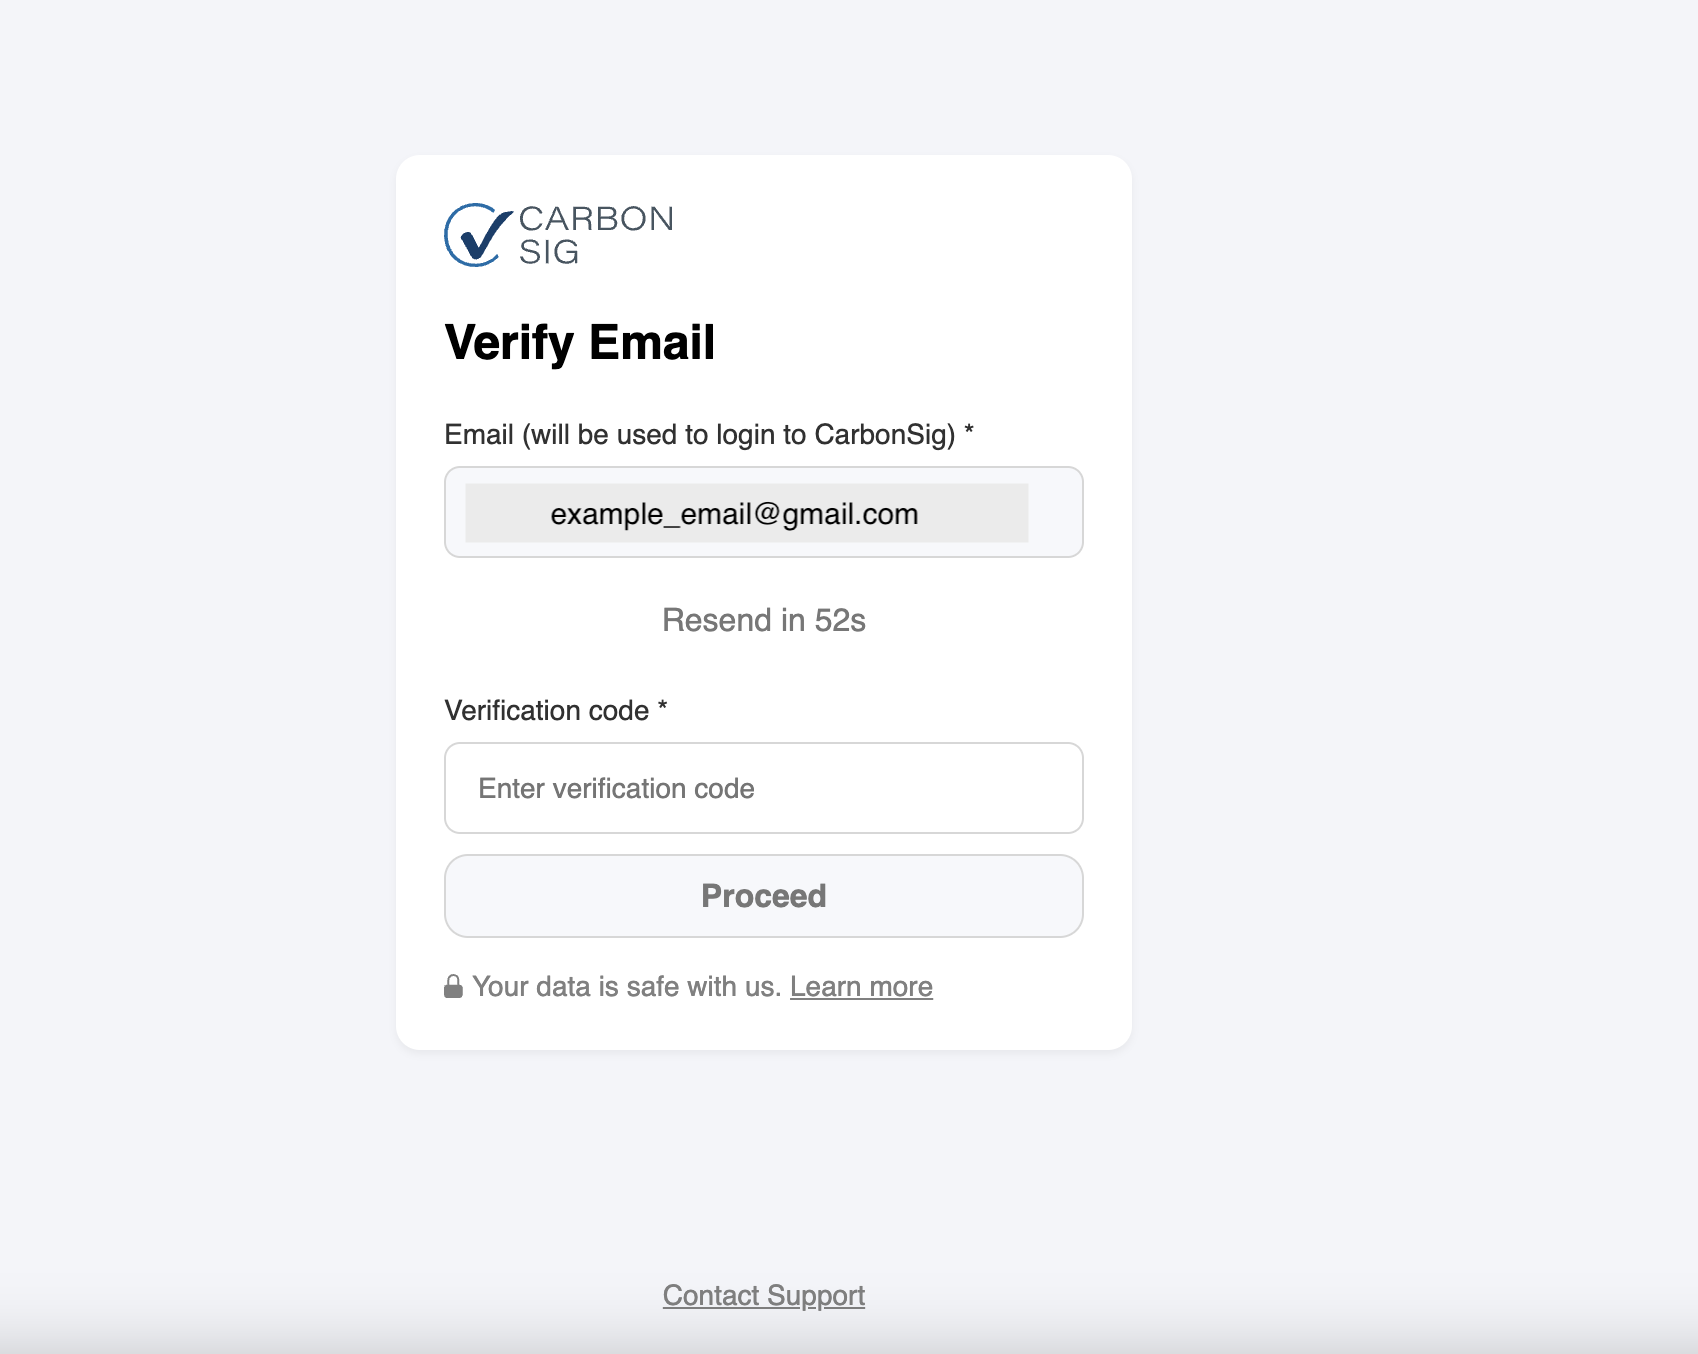
- A one-time password (OTP) will be sent to your email.
- Enter the OTP in the required field.
- The OTP expires in 5 minutes, so complete this step promptly.
Step 3: Creating Your Account
Set Up Your Login Credentials
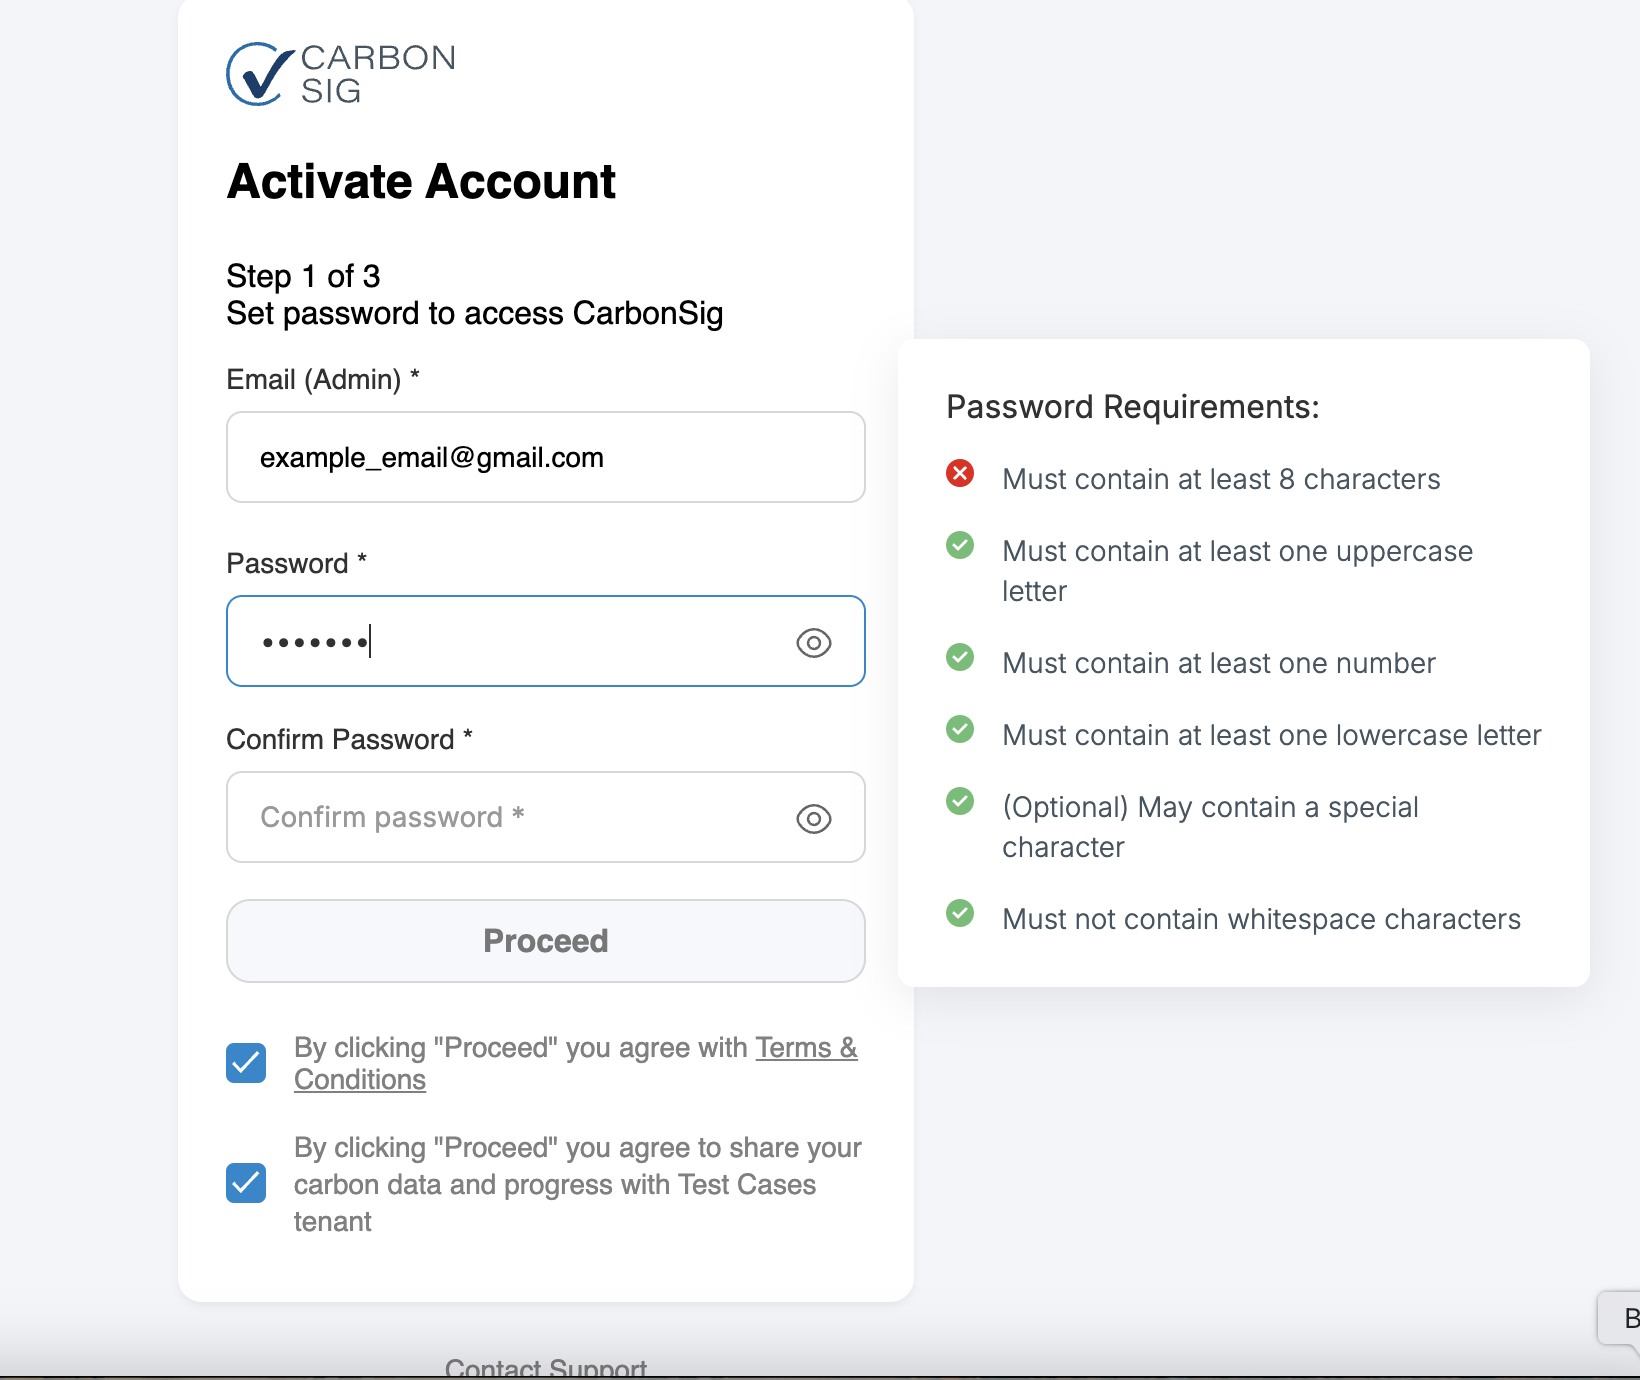
Create a secure password that meets the following requirements:
✔ At least 8 characters long
✔ At least one uppercase letter (A-Z)
✔ At least one lowercase letter (a-z)
✔ At least one number (0-9)
✔ (Optional) May contain one special character (e.g., !, @, #, $)
Before proceeding, you must accept the Terms of Service by clicking on the provided link and agreeing to the terms.
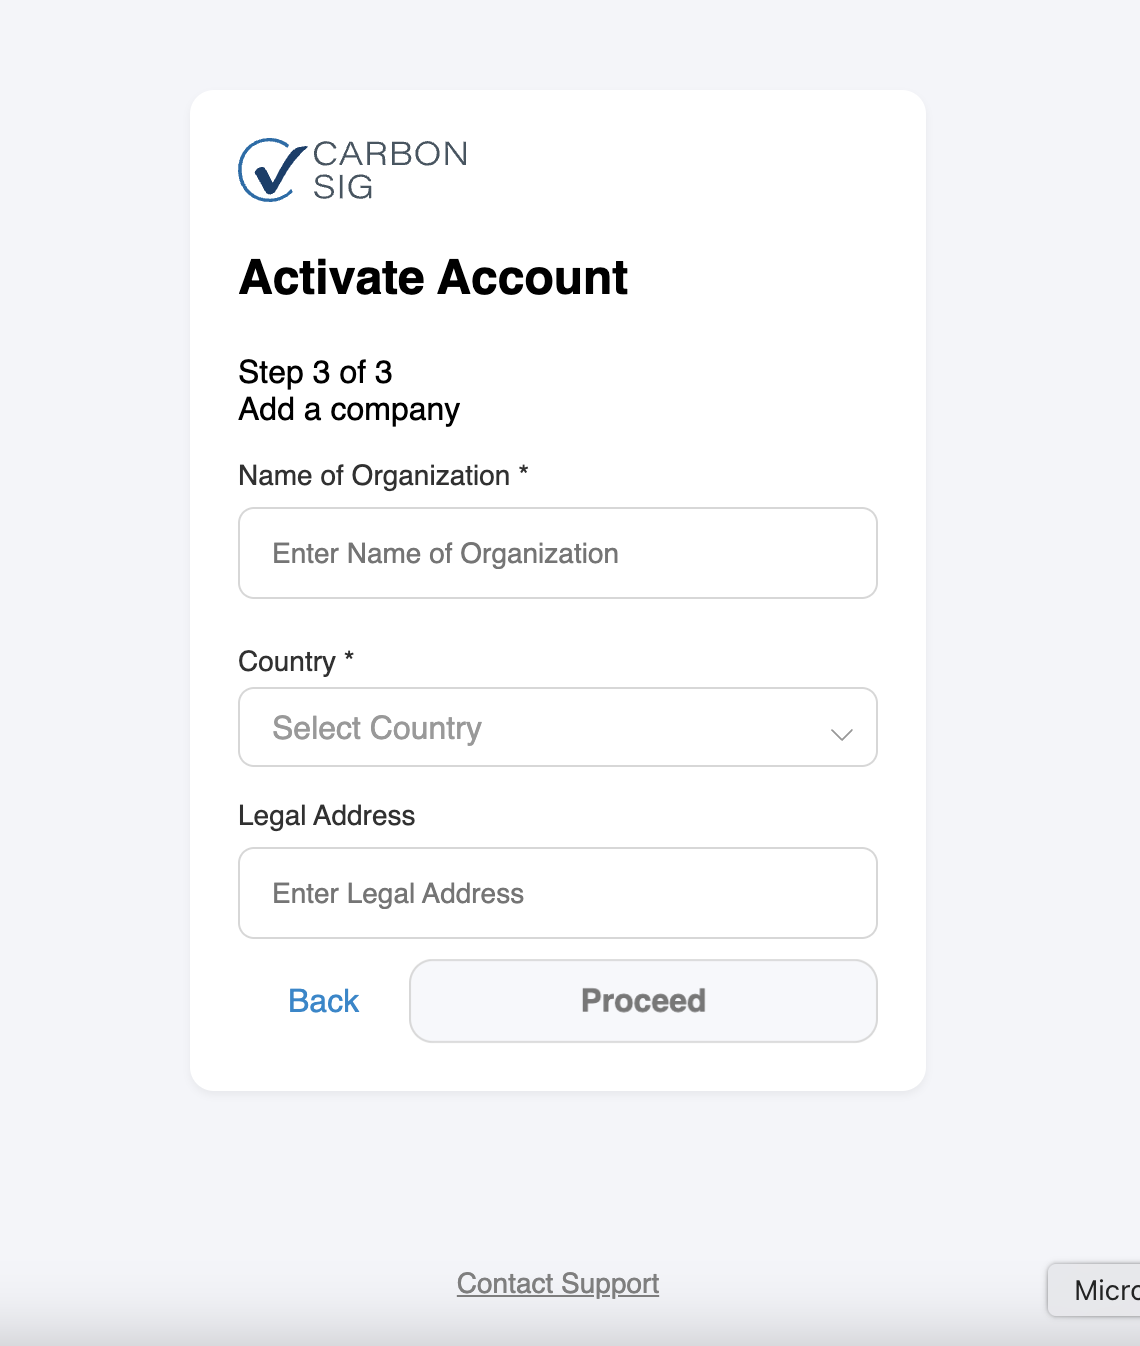
Step 4: Enter Your Details and Company info
Next, provide the following information:
- First Name
- Last Name
- Phone Number
- Name of the Organization
- Country and Legal Address
 |  |
Step 5: Finalizing the Setup
- Once all required information is entered, the final confirmation screen will appear.
- At this point:
✅ The activation link in the email becomes invalid.
✅ The request is added to the supplier's list.
✅ A notification is sent confirming the account setup.
✅ A welcome email is sent with important details.
✅ You will be redirected to the login screen to access your new account.
🎉 You're All Set!
You can now log in and start using CarbonSig account to manage your supplier activities.
Knowledge Checkpoints
✅ Understand Scope 1, 2, and 3 emissions Guide
✅ Know the difference between Design, Entry, and Analyze modes
✅ Can locate and use Reference Emission Data Guide
Support & Feedback
For help at any time, open the orange Help button in the top-right corner of the page.
There you’ll find the Knowledge Base, guided tours, and links to contact support.
You can also use the Feedback button to:
- Share suggestions
- Report issues
- Tell us how we can improve CarbonSig
To submit feedback:
- Click the orange Feedback button in the bottom-left corner.
- Choose a category:
- Something’s broken! Fix it!
- I have an idea! You should add this feature.
- This could be better. Here’s how.
- Help me please! I need 1:1 support (include your email). - Add comments or attach a screenshot / screen recording.
- Include your account details and email.
- Click Submit — our team will review it shortly.
⚠️ Email or Access Issues
If you experience problems such as:
- Not receiving activation or password reset emails
- Emails landing in the spam folder
- Issues caused by company firewalls or whitelisting restrictions
✅ Please check your spam/junk folder first.
✅ If the issue continues, contact your IT team and ask them to whitelist this sender:
messaging-noreply@carbonsig.com
✅ If you’re using a company-managed laptop or secured network, your IT department may need to adjust email or firewall settings to allow CarbonSig messages and full app access.
Pro Tips for Success
Start simple: Build basic systems first, then expand complexity gradually.
Share early: Get feedback from your team before finalizing.
✅ By completing this checklist, you’ll be ready to confidently use CarbonSig for carbon accounting, supplier collaboration, and emissions analysis.
We’re always improving CarbonSig - your feedback helps shape the product for your continued success!
➡ Need help? Visit our Help Center or contact Support.
Last updated: December 2025