
Company Onboarding Guide without SSO
How to Get Started
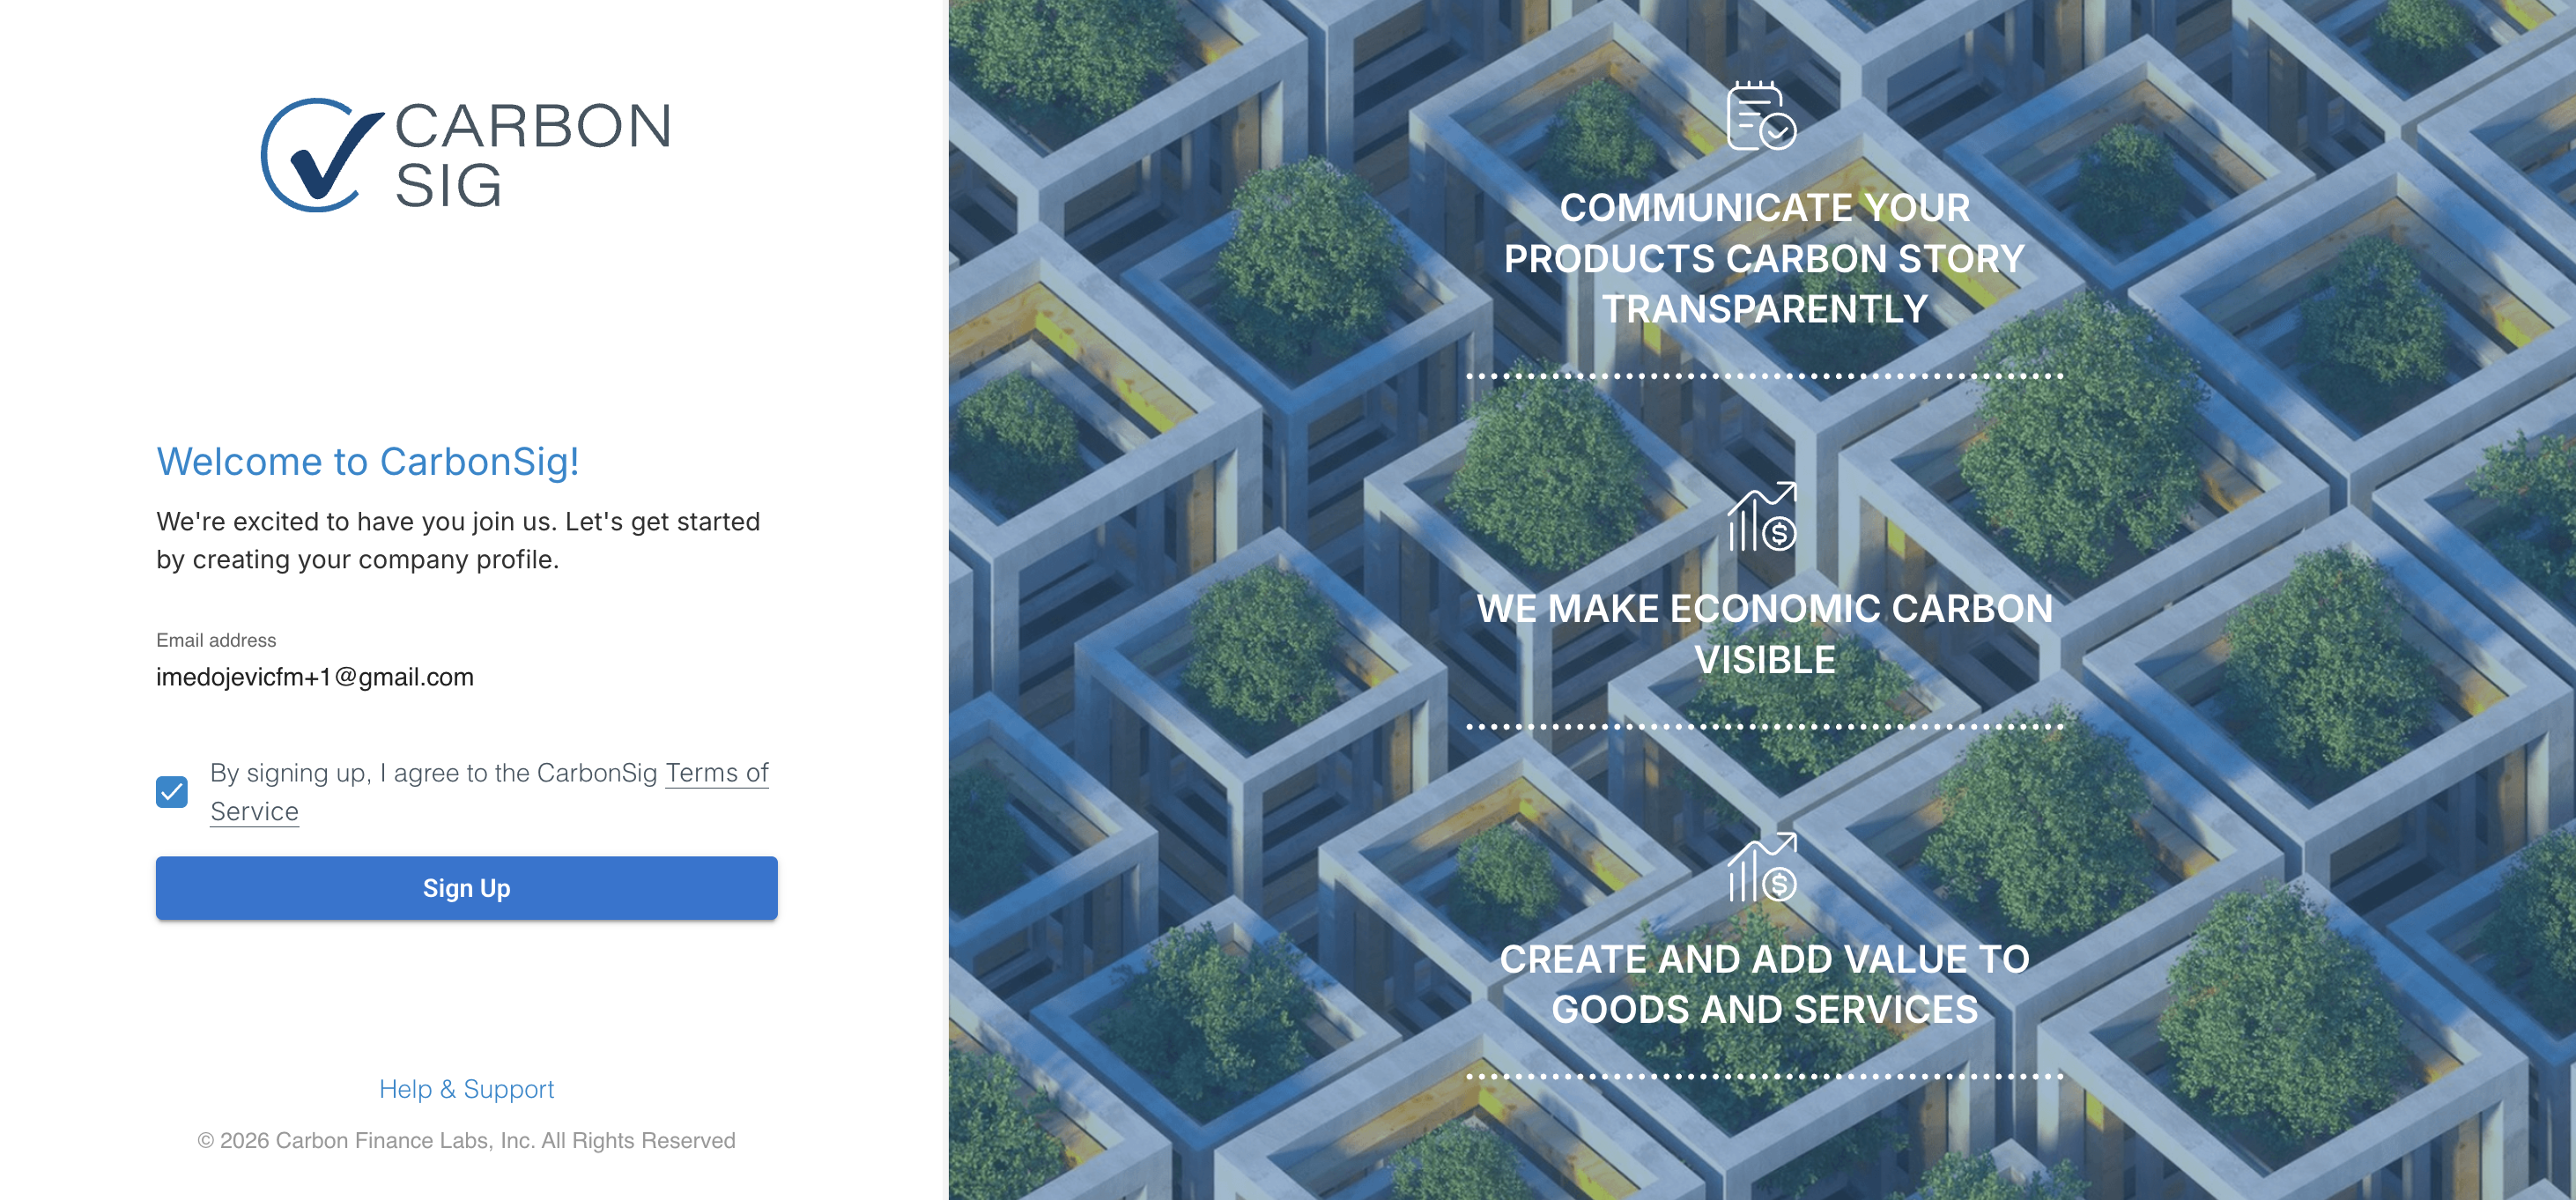
Contact us using the "get in touch" link at carbonsig.com/contact to request your activation link.
Step 1: Check Your Email
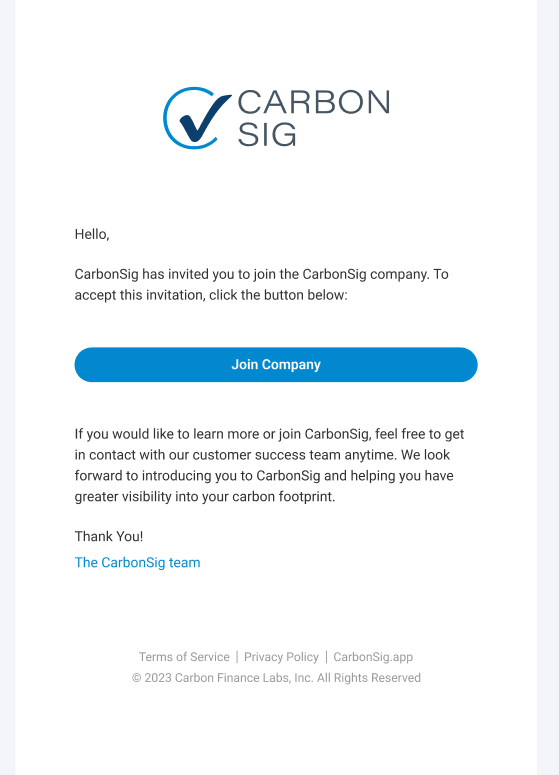
You'll receive an activation email from CarbonSig with a secure link to begin your setup.
What you need to do:
- Open the email from CarbonSig
- Click the Join Company button
- Confirm your email address to get started
Good to know: Your activation link stays valid until you complete all onboarding steps. You can pause anytime and return later—we'll save your progress automatically.
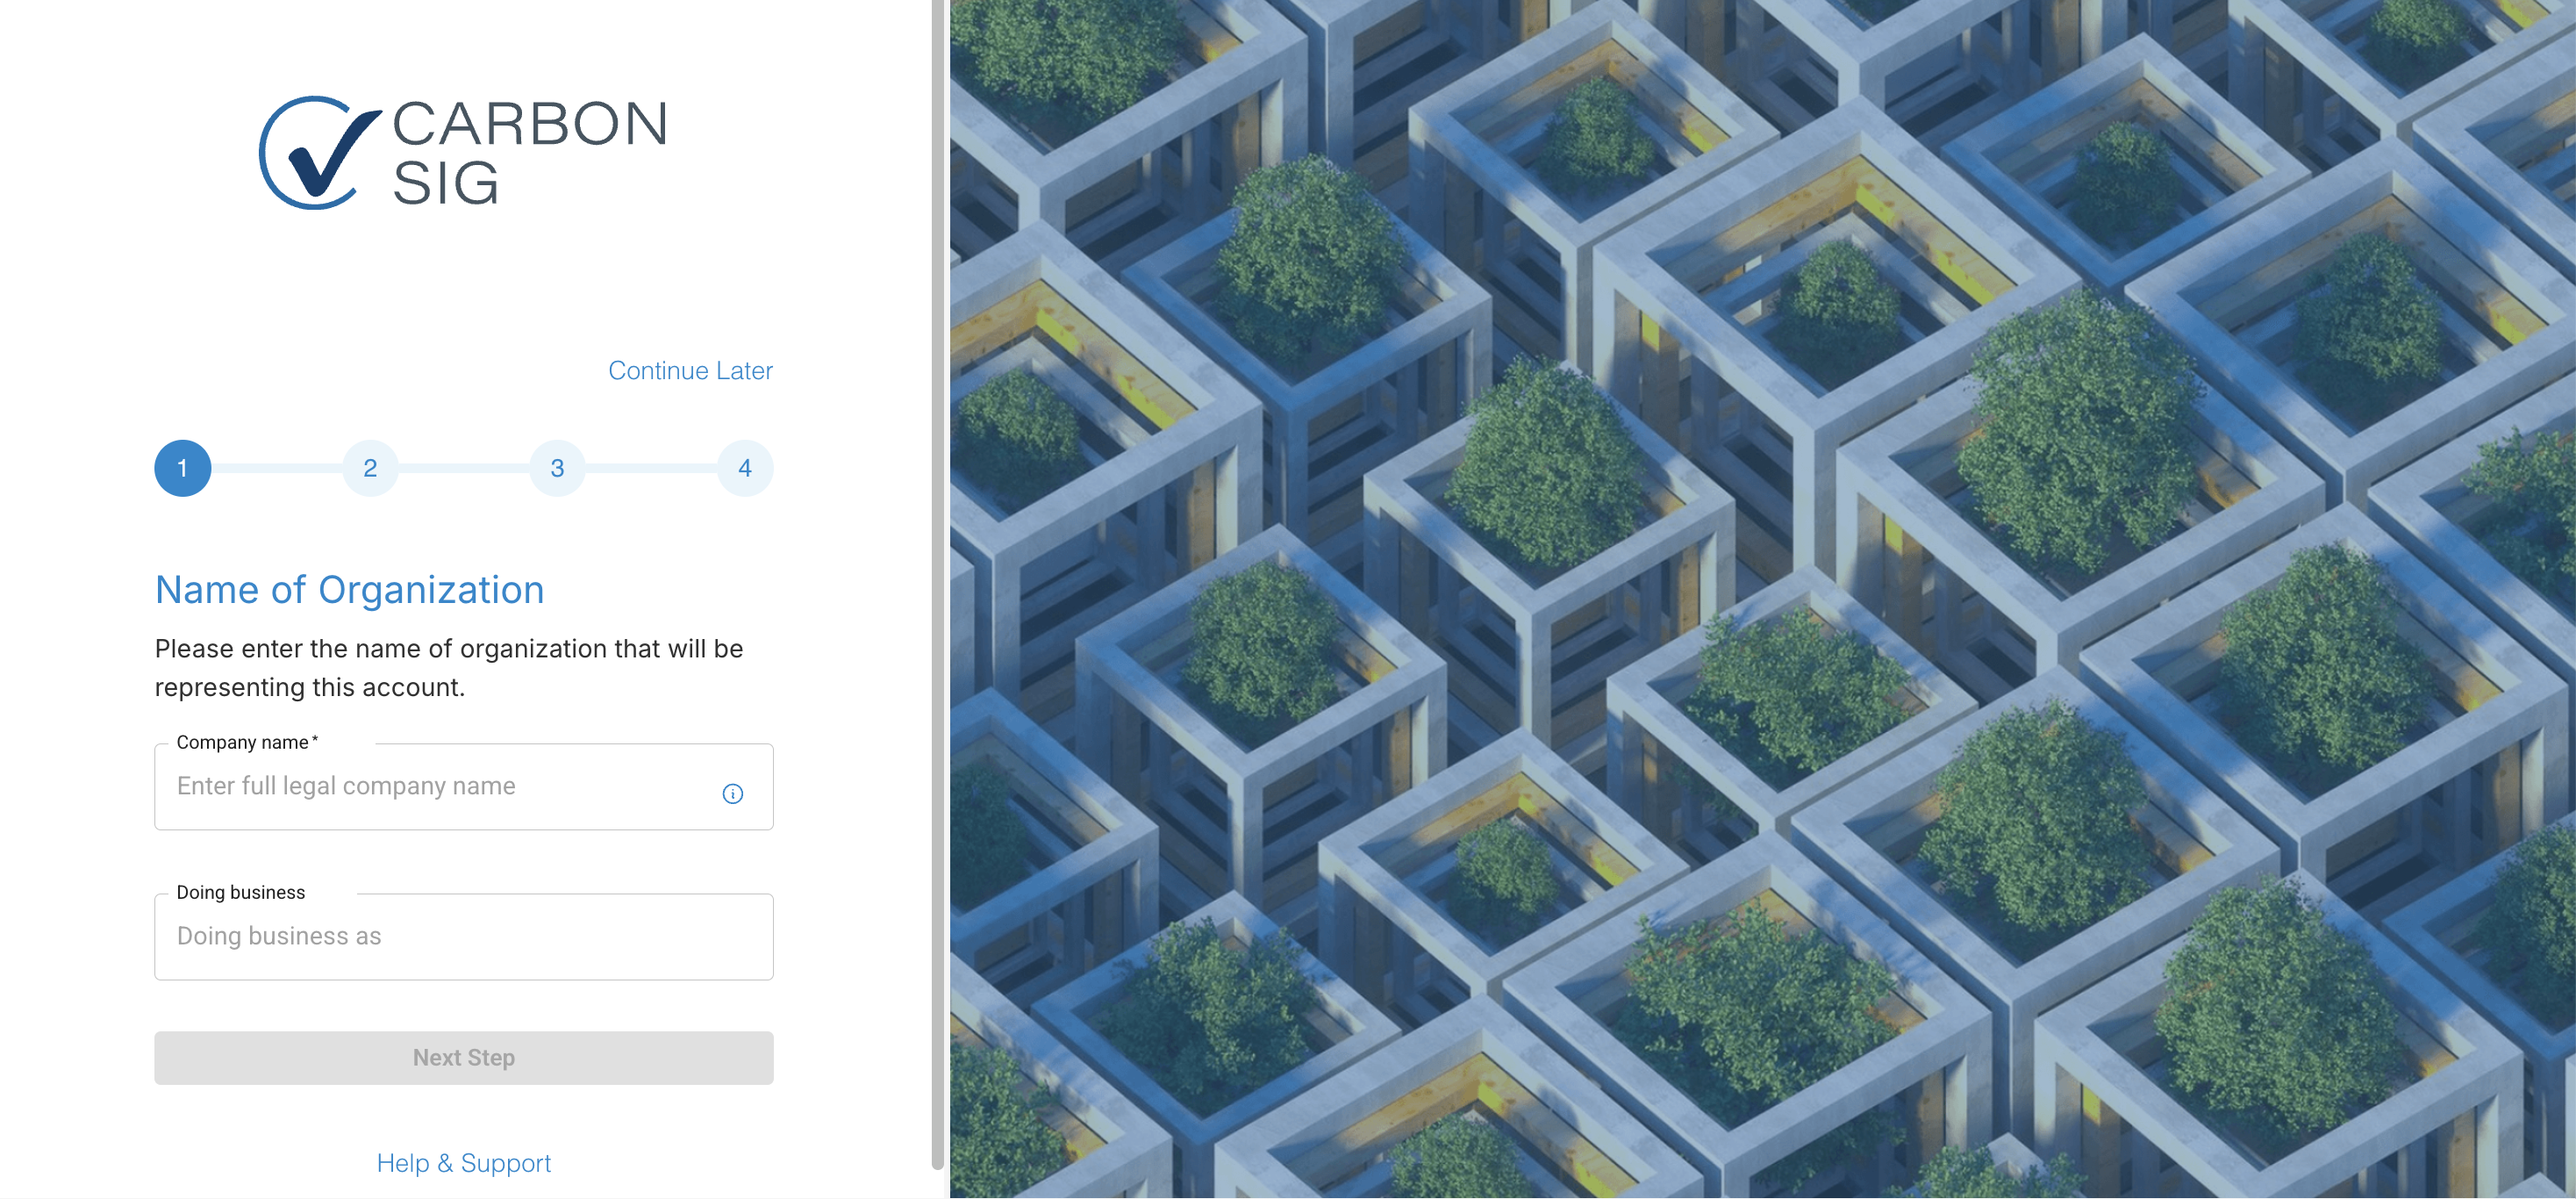
Step 1: Name Your Organization
This name appears on all attestation certificates, so use your official legal business name.
Enter these details:
- Legal company name (required)
- Doing business as (DBA) name (optional)
Naming requirements:
- 3–35 characters
- Letters, numbers, and these symbols: . , - '
- Must start with a letter (not a number or symbol)
- Single spaces between words only
- Must be unique in CarbonSig
Why this matters: Your legal name ensures your certificates match official registration documents.
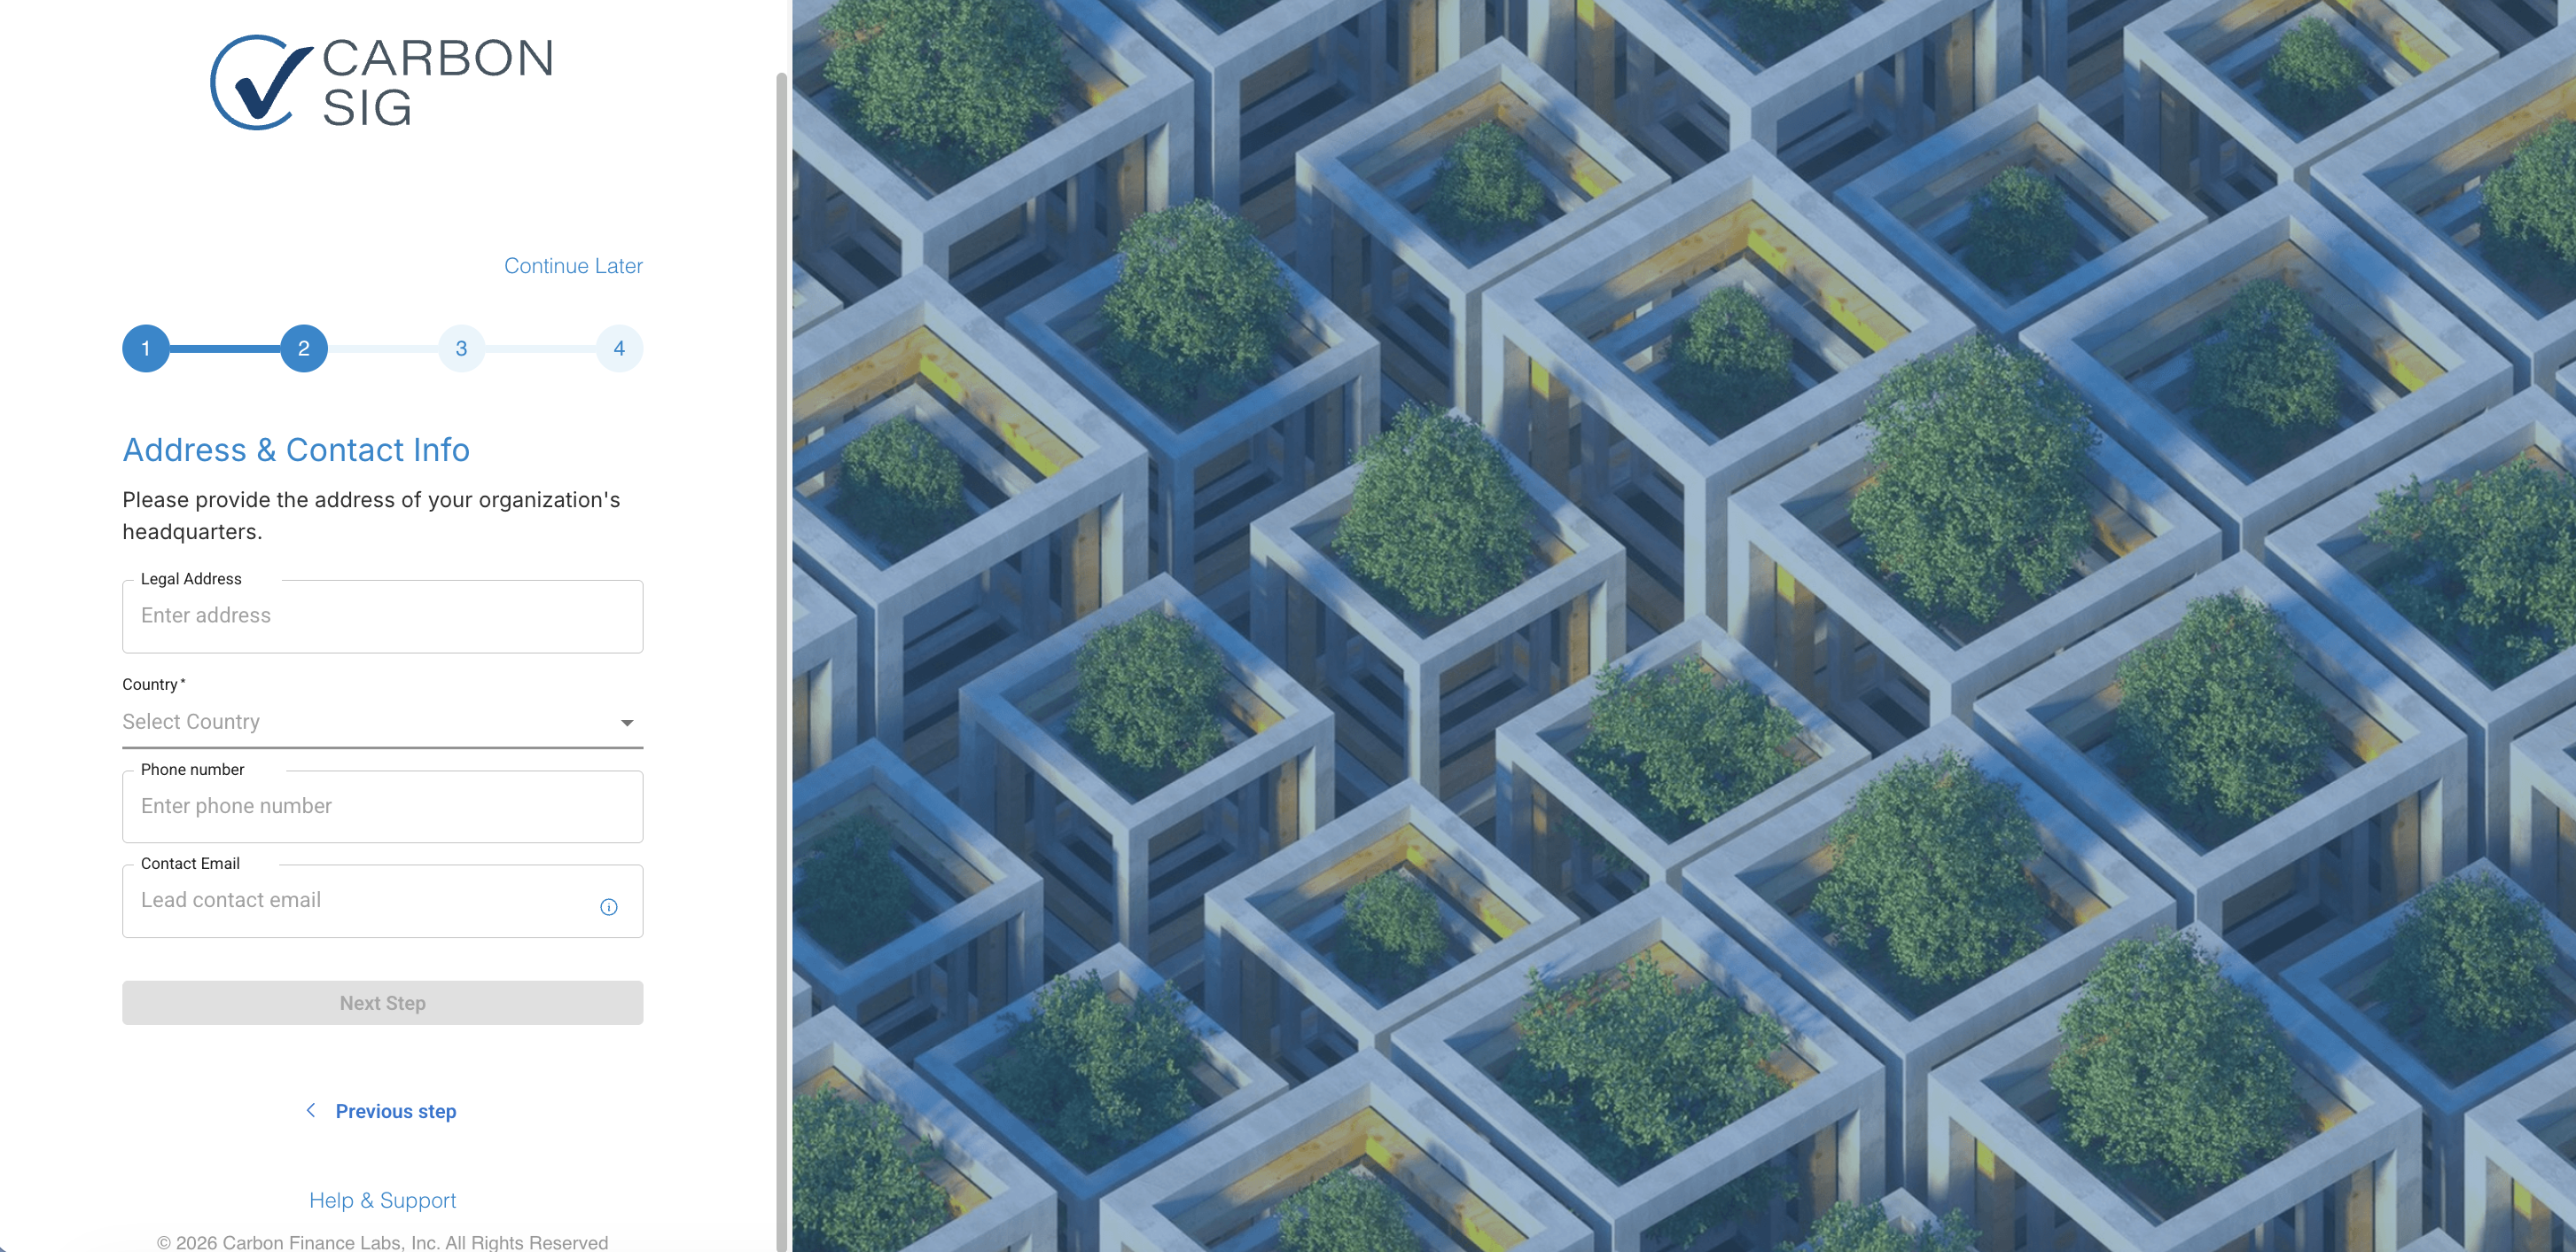
Step 2: Add Your Address & Contact Information
We need these details to connect with you and verify your organization.
Company details:
- Full business address
- Contact phone number
- Representative's email address
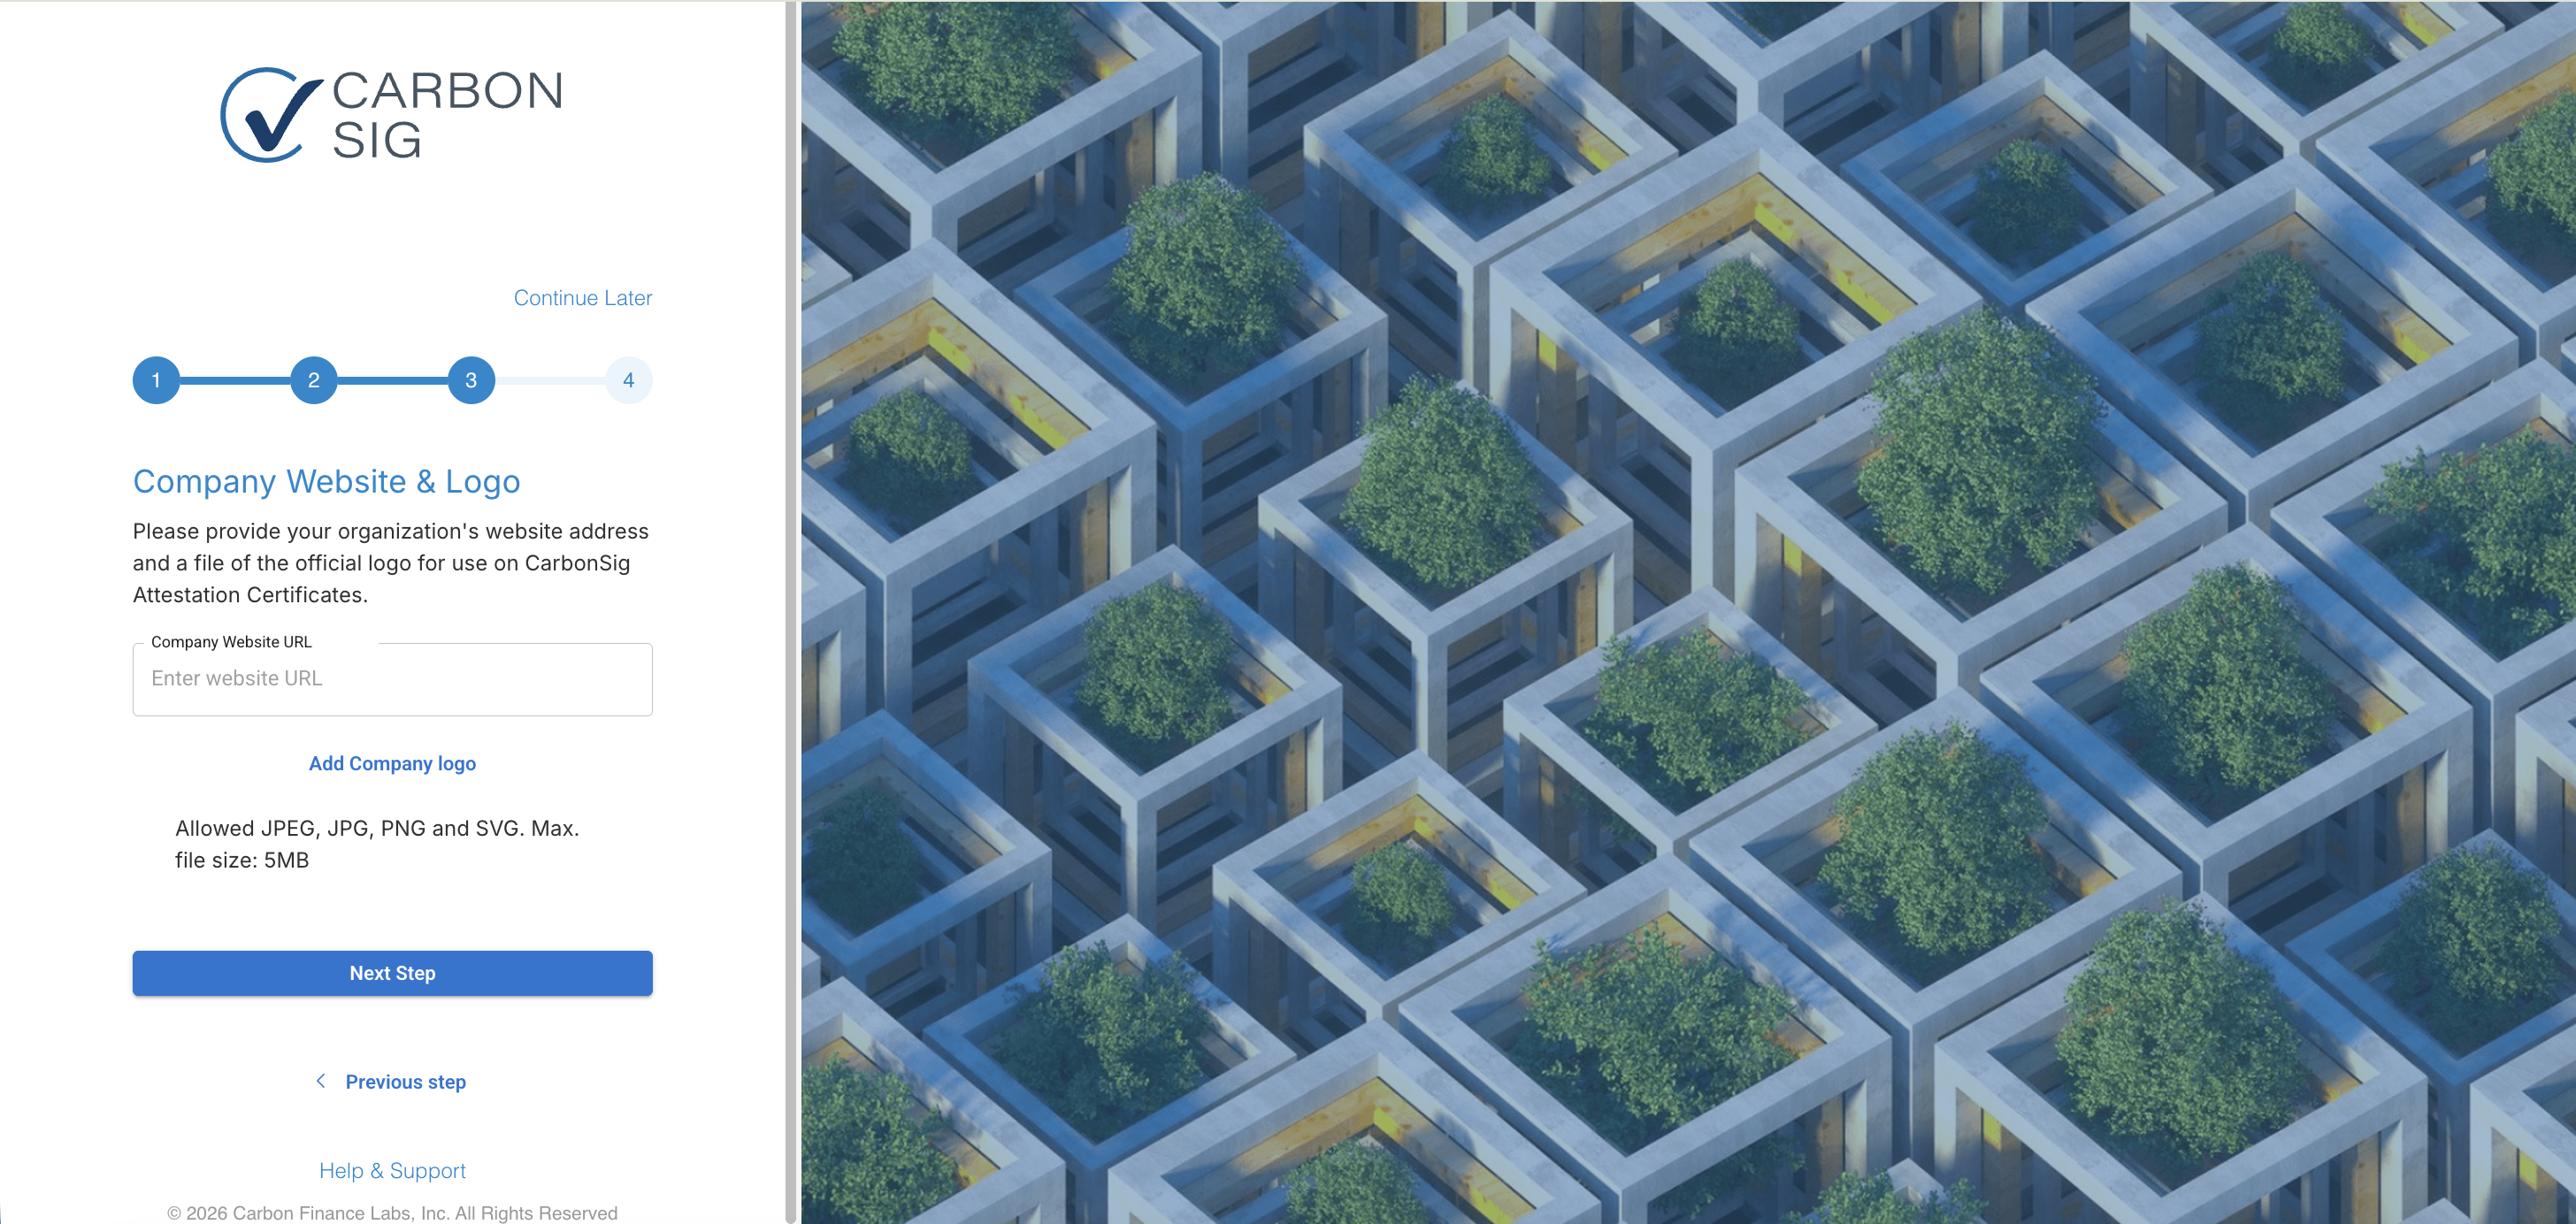
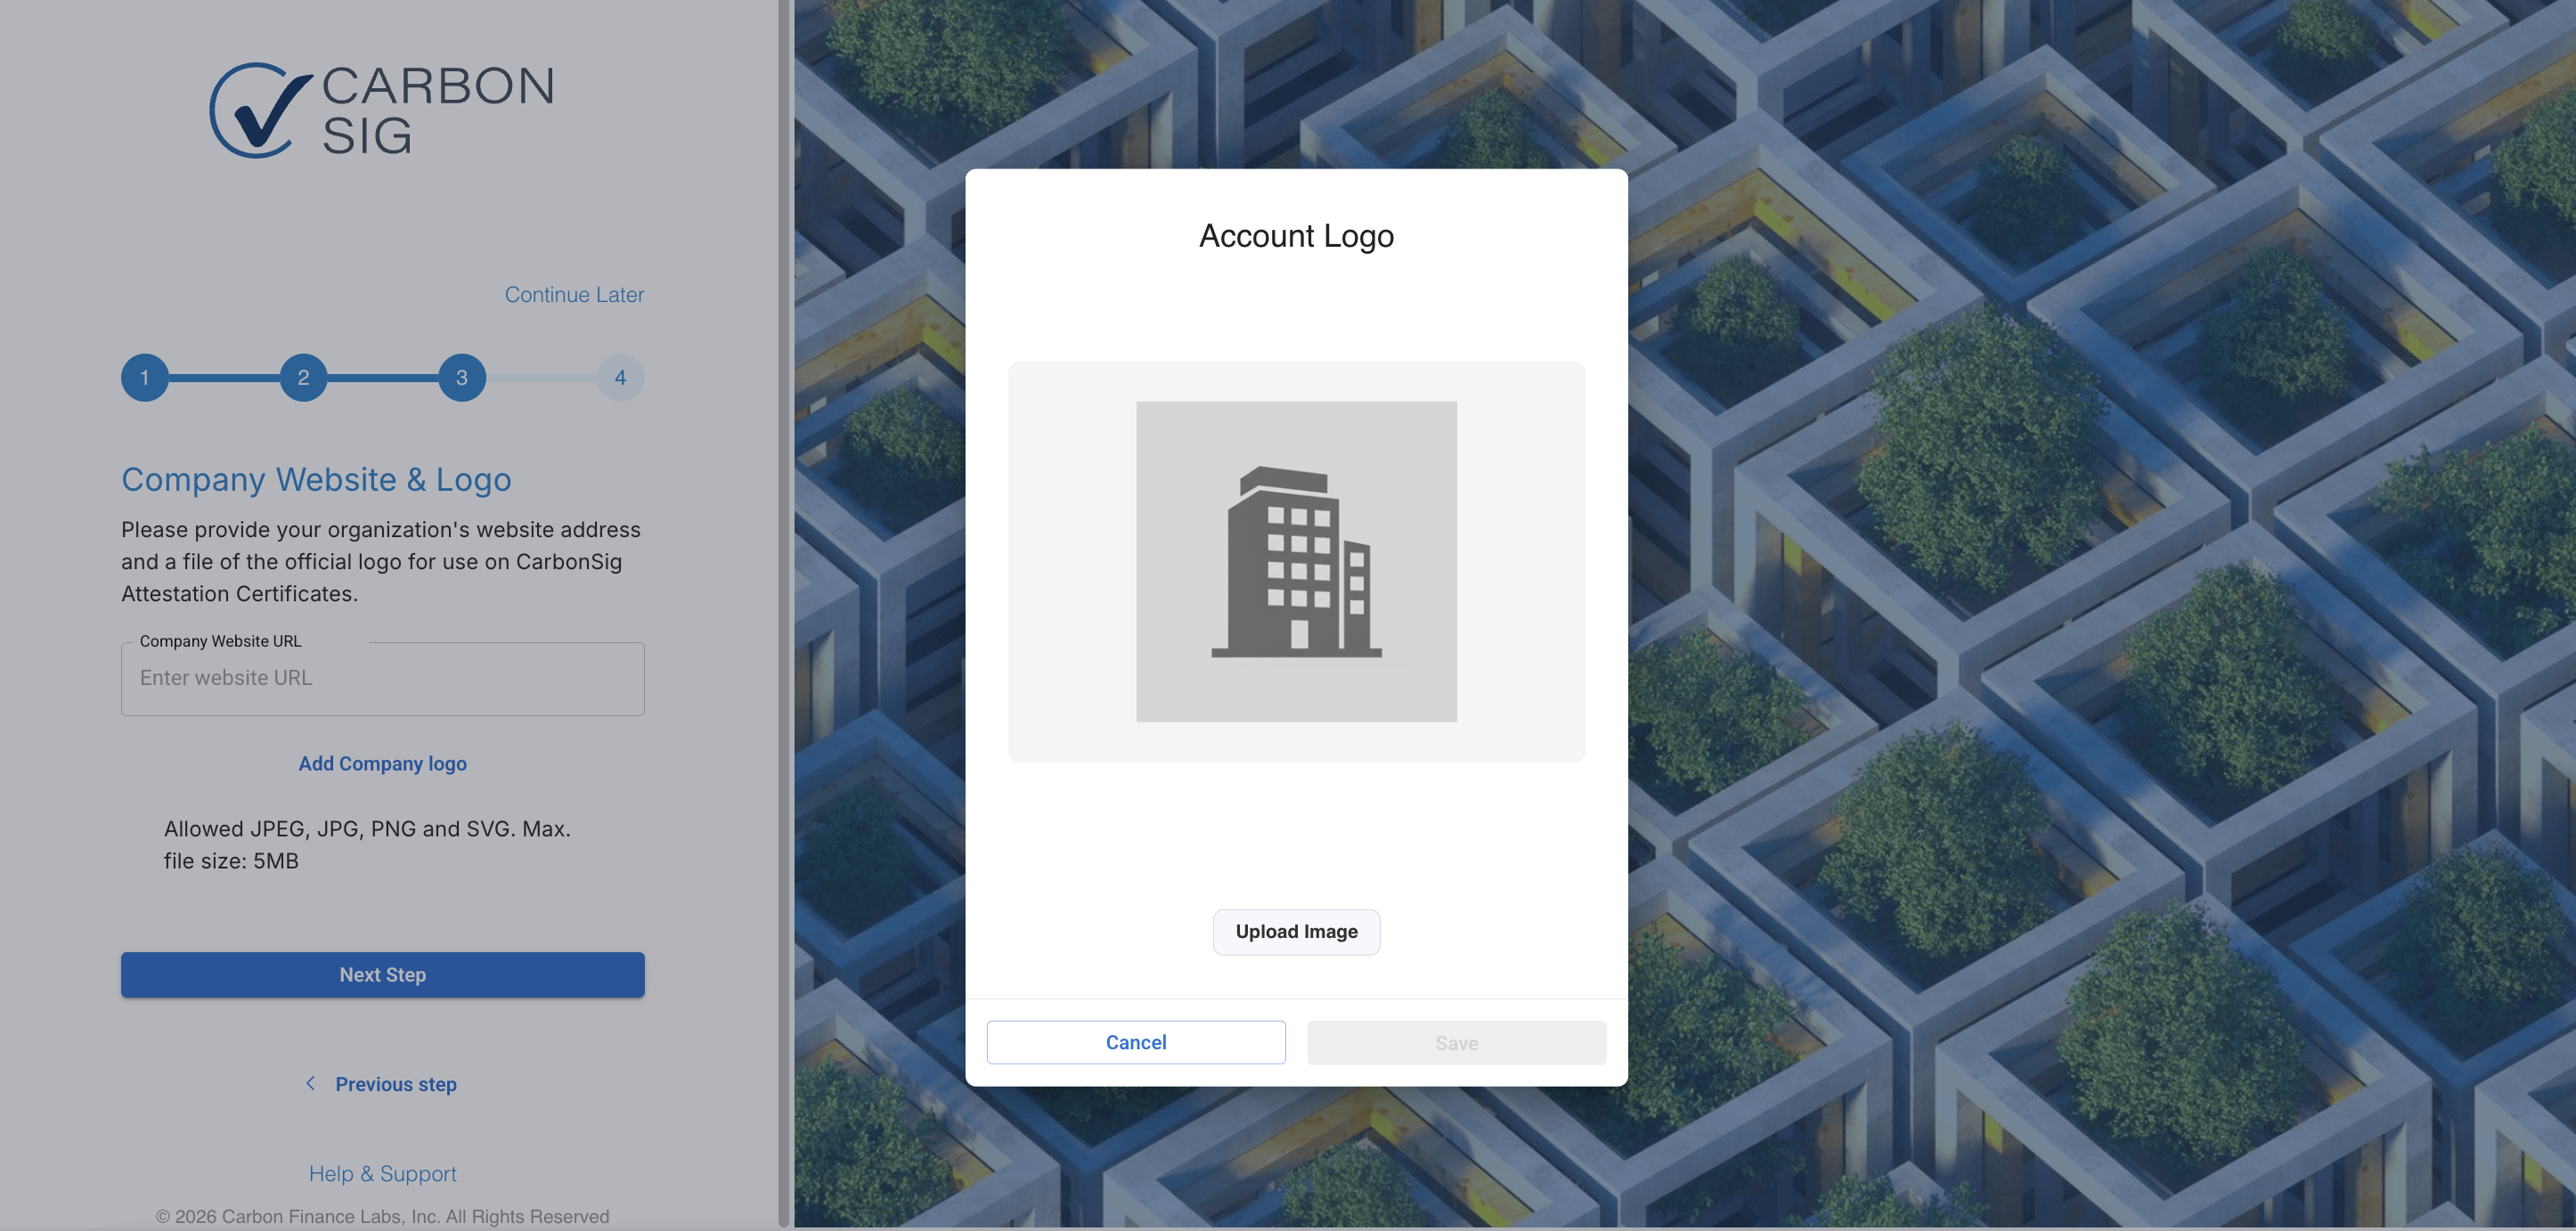
Step 3: Upload Your Company Branding (Optional)
Add your website and logo to personalize your certificates.
Upload Company logo (appears on attestation certificates)
Pro tip: Use a high-resolution logo (PNG or JPG) for the best quality on certificates. This can be added later.
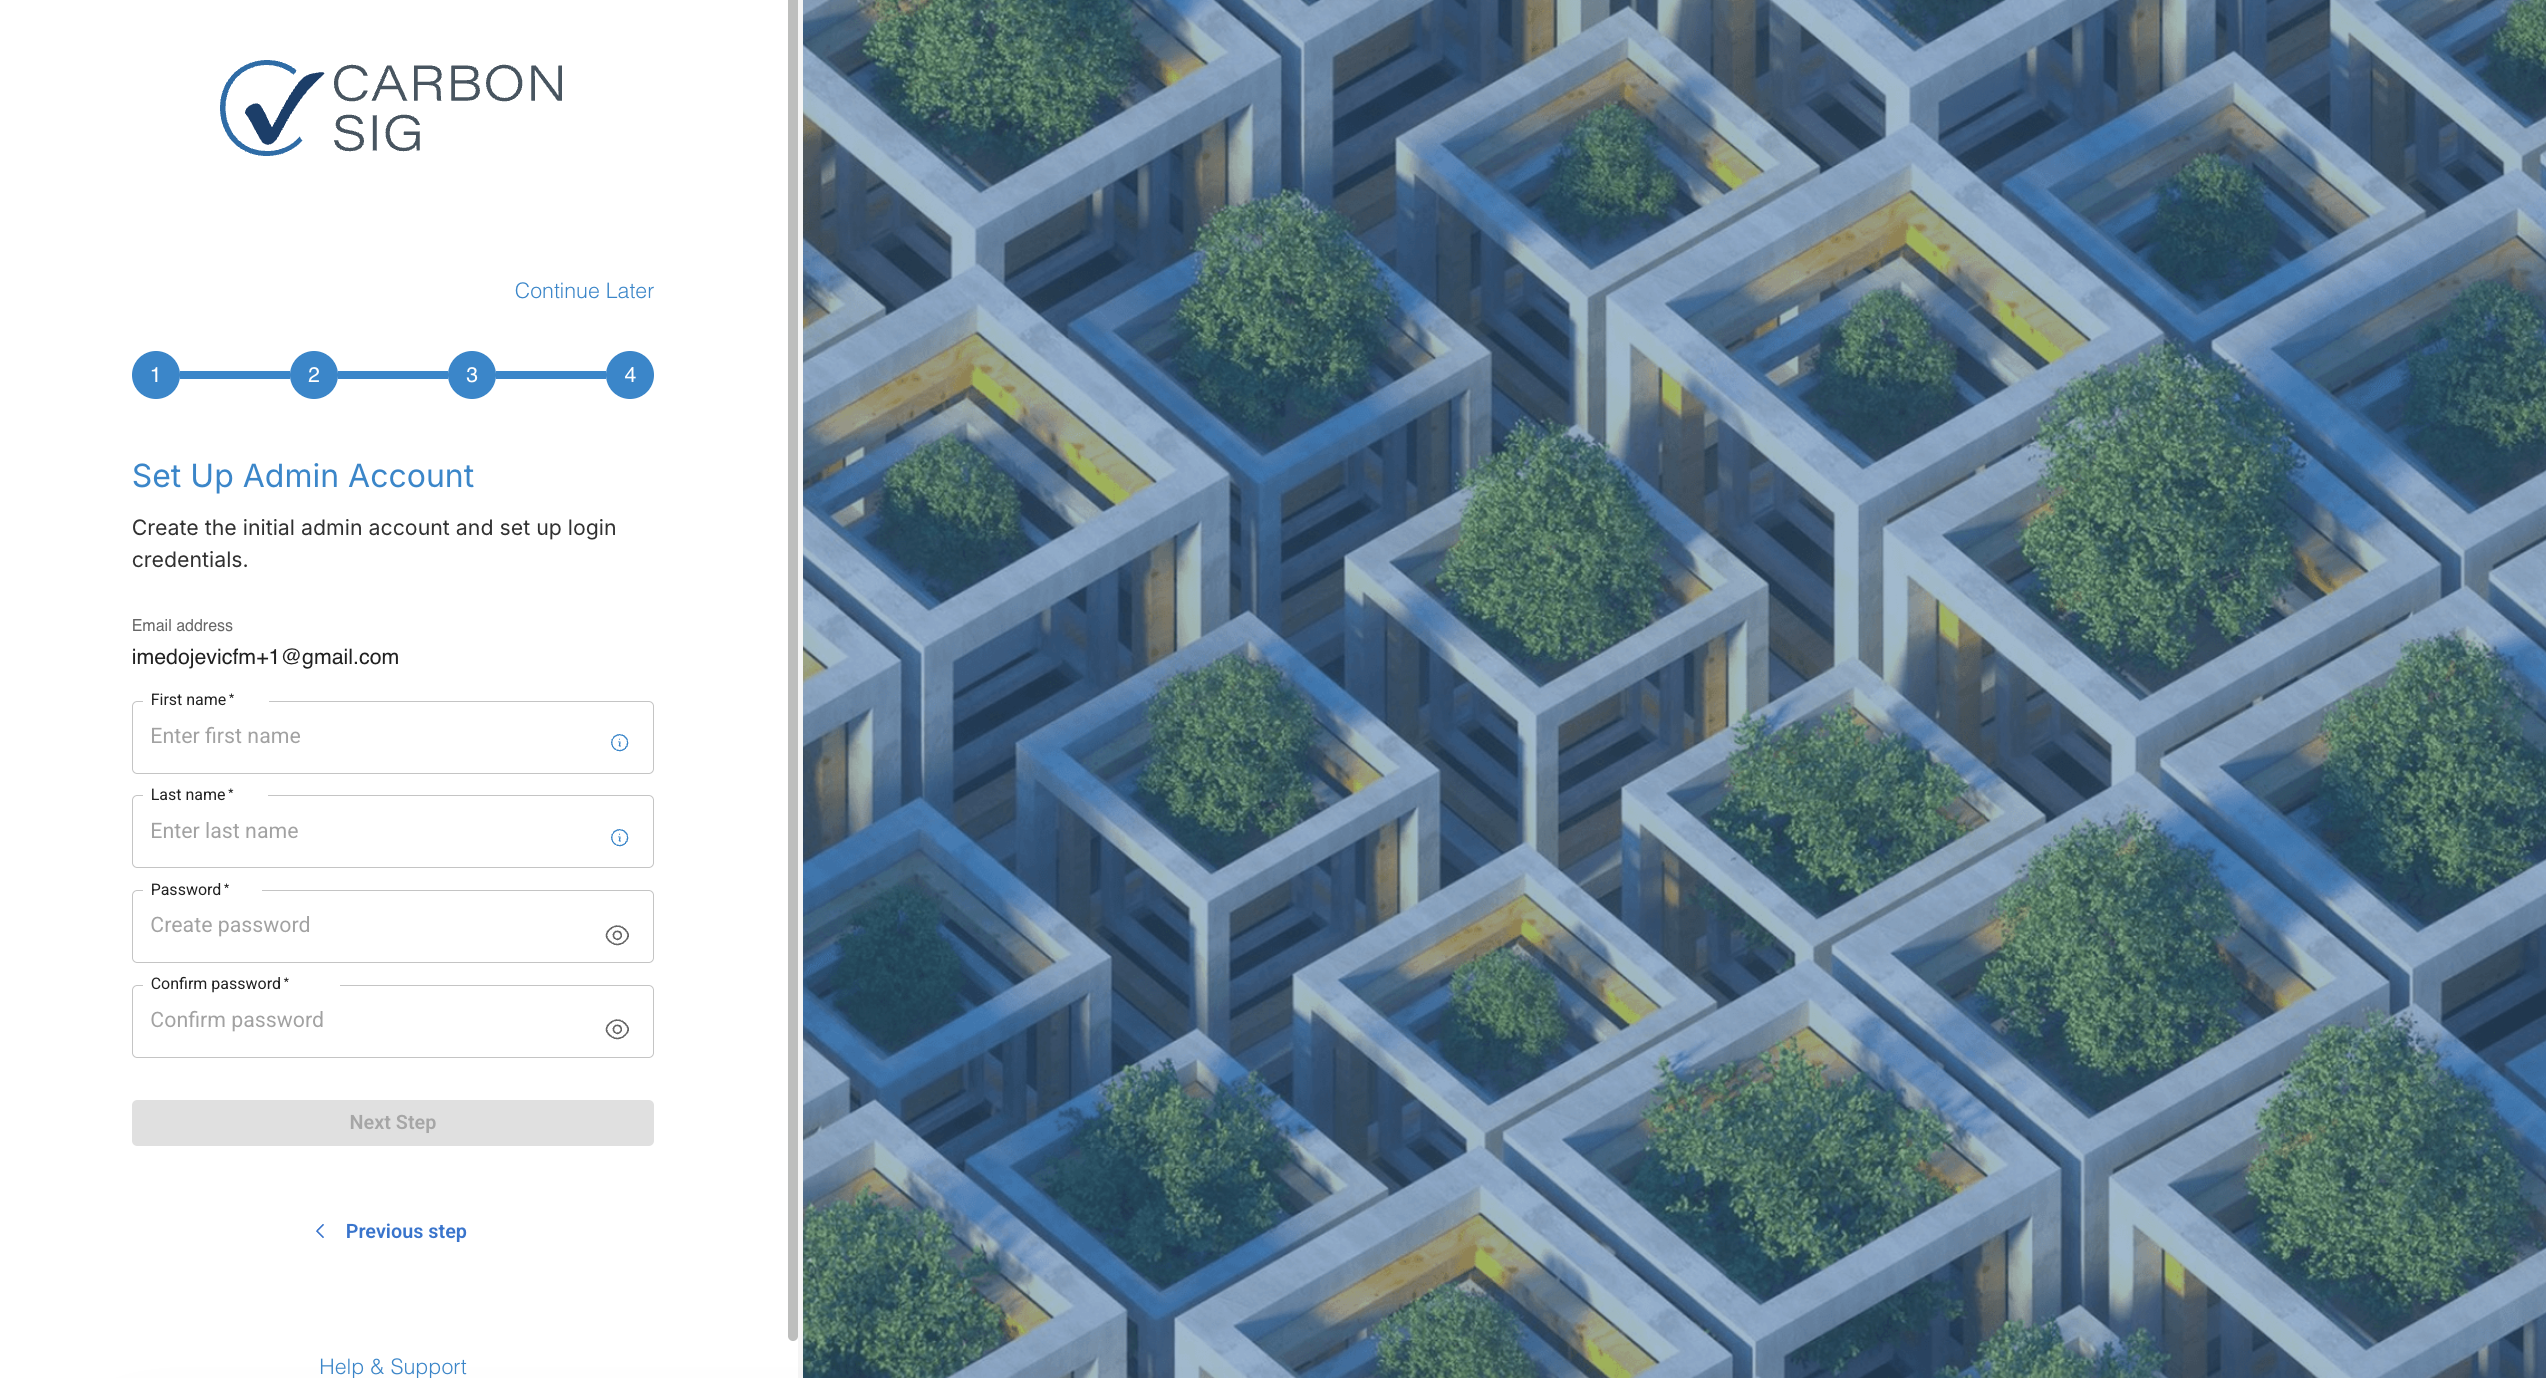
Step 4: Create Your Login Credentials
Set up your secure account to access CarbonSig.
Your details:
- First and last name
- Email address (your username)
- Password
Name Requirements
- 3–16 characters
- Letters, hyphens (-), and apostrophes (') only
- Must start with a letter
- Single spaces between words
Create a Strong Password
Your password protects carbon data and attestation certificates.
Requirements:
- 8+ characters
- Mix of UPPERCASE and lowercase letters
- At least one number (0-9)
- Special characters welcome (!@#$%...)
You're All Set! 🎉
What happens next:
Sign in at CarbonSig.app to start managing your carbon data. Your workspace environment gives you quick access to:
✓ Create new models and reports
✓ Invite team members to collaborate
✓ Upload project data to begin tracking
✓ Generate attestation certificates
Your First Login
- Go to CarbonSig.app
- Enter your email and password
- Welcome to your workspace dashboard!
Need Help?
Our support team is here to help you get started.
Contact us:
📧 support@carbonsig.com
Explore more:
Last updated: April 2026